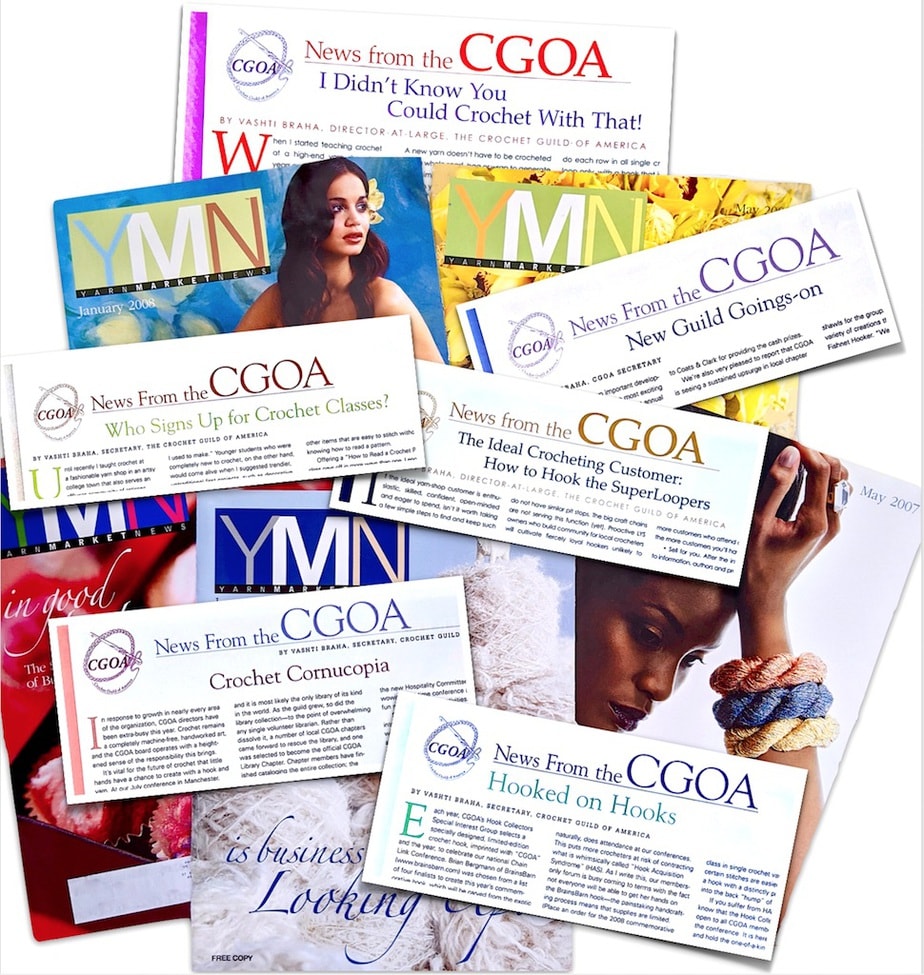
From 2006 to 2009 I wrote six half-page “News From the CGOA” columns for a trade publication called Yarn Market News. It was mailed free of charge to all industry professionals. Its focus was on helping even the smallest yarn shop succeed.
Scroll to the end of this post for the linked list to all six full-text articles.
Crocheters nowadays might not know how CGOA professionals have worked for decades to make crochet visible in the minds of yarn shop owners and the rest of “the industry”—the yarn industry. It started with the founder, Gwen Blakely Kinsler. She and Nancy Brown, an early guild President, had a CGOA booth at annual industry events. They persisted.
When Crochet Was Sidelined
CGOA professionals spent long hours in CGOA booths at trade shows and markets, served on task forces and committees of other organizations, provided crochet for displays, and invited members of the wider industry to serve on CGOA’s board.
Maybe we need less of this kind of work nowadays. Crochet is no longer sidelined as much in favor of knitting. (Nancy Brown used to say crochet was treated like a “red-headed stepsister”.) Meanwhile the internet is a big factor in declining attendance at trade shows, and in overall ad revenues.
I have fond memories of performing this free labor with Marty Miller and with many more designing friends! Marty and I helped check in fashion show items at the The National Needlearts Association (TNNA) trade shows, for example. Truly, folks: every fashion show entry was knitted except for approximately two crocheted things.
In that climate, you can imagine that yarn shops needed crochet advice badly. I met many yarn shop people at industry events who wanted to attract and satisfy more crocheting customers, but didn’t know how. I drew on these experiences when I wrote the six “News From the CGOA” columns for Yarn Market News.
The Crochet-In
At peak exasperation we staged a crochet-in, as a result of a Crochet Summit, in the middle of the 2007 TNNA show floor. It was a gentle and upbeat protest. Isn’t it weird that it was necessary?
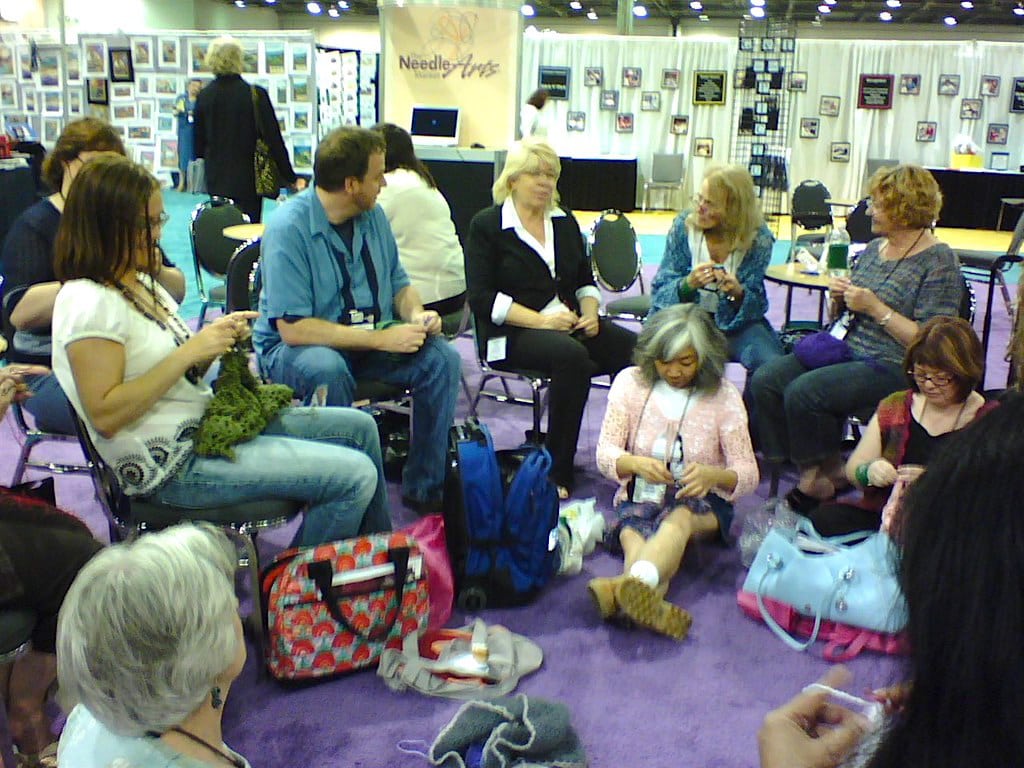
Crochet In, TNNA Show 2007 ©Amy O’Neill Houck 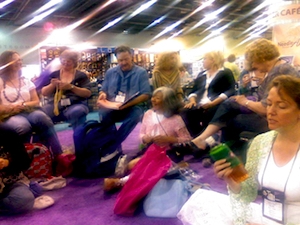
Another view of the Crochet In, TNNA 2007 ©Kim Werker 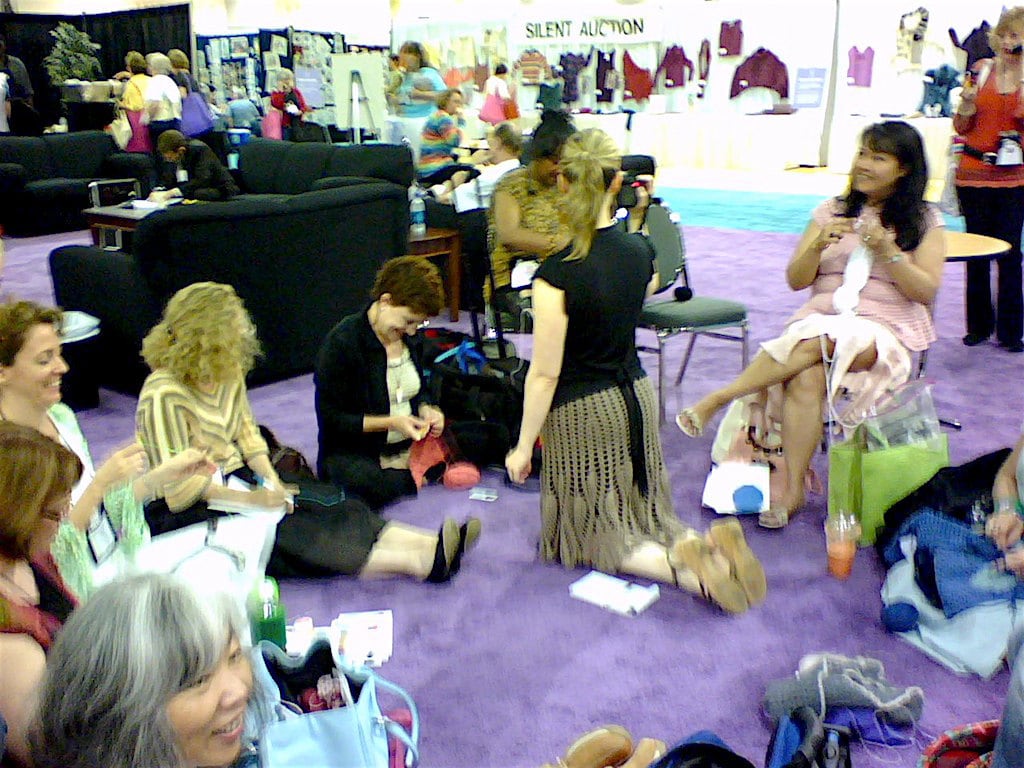
Brett Bara podcasting about the 60’s style Crochet-In: TNNA Show, 2007 ©Amy O’Neill Houck 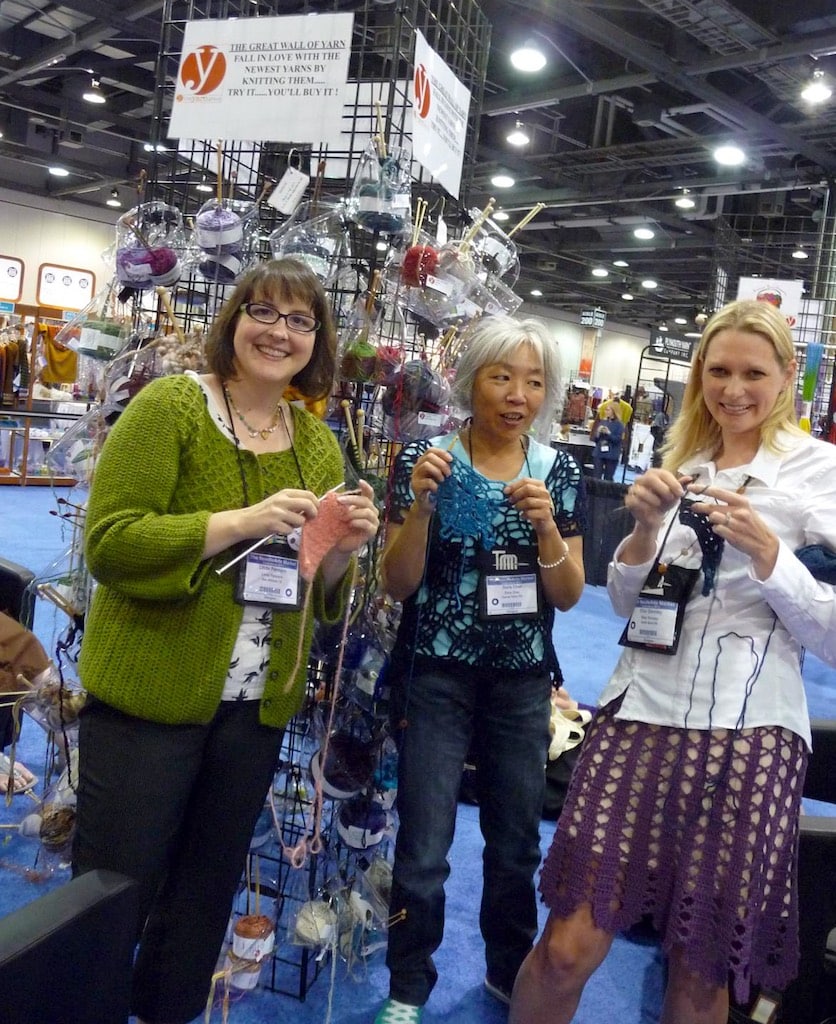
TNNA show, 2011: Linda Permann, Doris Chan, Ellen Gormley are crocheting swatches for the ‘Great Wall of Yarn’ to balance out all the knitted ones.
Wearing Crochet Matters
When I re-read this 2008 blog post it does sound like we were starting to make a difference. Even just showing up with crochet on helped at a time when crocheters were under-served by this industry that we share with knitters. I wrote about the Minuet Vest prototype during this time. Doris and I had a blast doing this! Here’s a comment she left on this 2008 post about a TNNA show:
Wearing your stuff in public at events and in your everyday life does help raise the level of crochet consciousness. I used to get annoyed when the typical response was “Oh, did you knit that?”. Can’t fault anyone for not readily discerning the differences between some knit and some crochet stitches. Nowadays I treat such comments as teachable moments…There will come a day when I won’t feel the need to do this, either! 🙂
Yarn shop owners stopped to ask us about the crochet we wore on the trade show floor and displayed in booths. The crochet classes offered at TNNA shows may have been meager at times, but they were well attended by yarn shop staff. I directly experienced yarn shop owners seeking crochet advice. The only source I knew of was the Yarn Market News column. Isn’t this also weird?
Crochet Advice for Yarn Shops: Today
If improving crochet – industry relations were all CGOA did, the annual membership dues I pay it would be worth it for me. Shop owners still need business advice about crochet and I don’t know where they can get it nowadays. Soho Publishing ceased publication of Yarn Market News with their January 2020 issue.
CGOA has offered to help local stores succeed with crochet since our founding in 1993. CGOA members have always shopped in their local yarn shops and craft stores, looking for inspiration and new products with crocheters in mind. Yarn Market News offered a way for CGOA to speak directly to yarn shop owners and I’m grateful for it.
Full text of Vashti’s “News From the CGOA” columns in Yarn Market News:
- May 2006 issue: “I Didn’t Know You Could Crochet With That!”
- January 2007 issue: “The Ideal Crocheting Customer”
- May 2007 issue: “Who Signs Up for Crochet Classes?” [link is coming]
- January 2008 issue: “New Guild Goings-On”
- May 2008 issue: “Hooked on Hooks”
- January 2009 issue: “Crochet Cornucopia”
This might also interest you:
- Draft of unpublished Smart Merchandising column I wrote for Yarn Market News: “Tandem-Taught Knit and Crochet” [link is coming]
- See the last seven years of Yarn Market News issues and their beautifully designed covers.