Posted on 1 Comment

Spring Lace Pullover: Zegue-Along Class

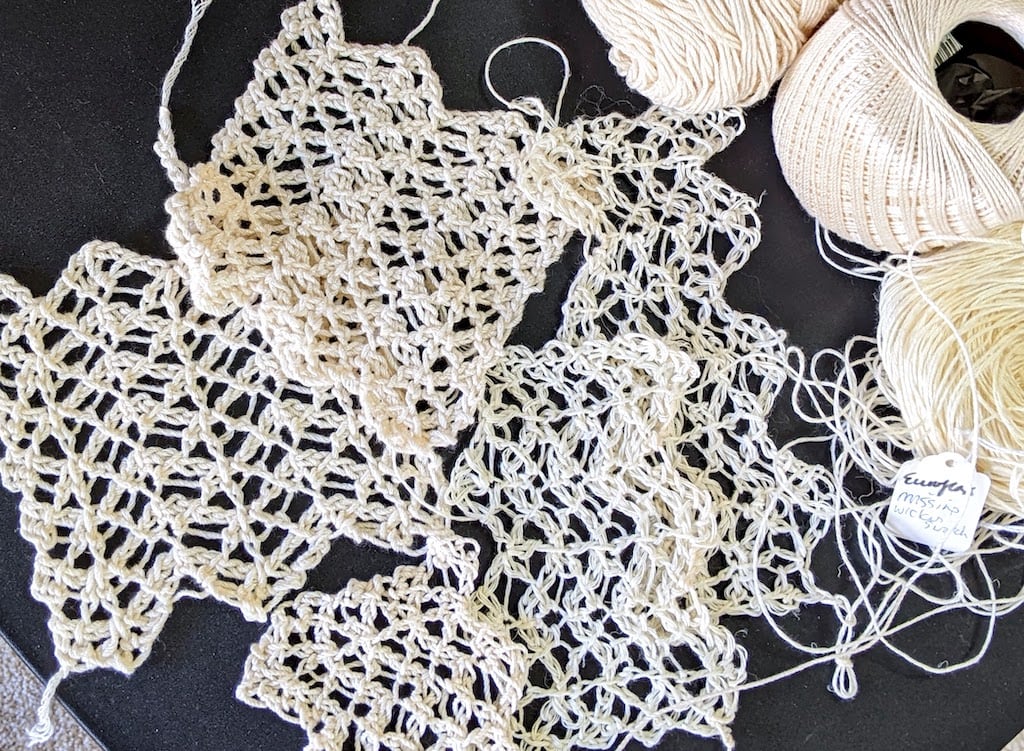
Pile of lacy cream-colored antique-looking Tunisian crochet swatches

I’m ready to commit to one of these five swatches for a Jane Austen-y lace pullover. My new Zegue-Along online class starts in a few weeks. This blog post will give you initial information in case you want to make something like this in class. My goal is a beautiful, uplifting springtime layer–a roomy pullover–that might even make a great Mother’s Day gift, or bridal accessory.
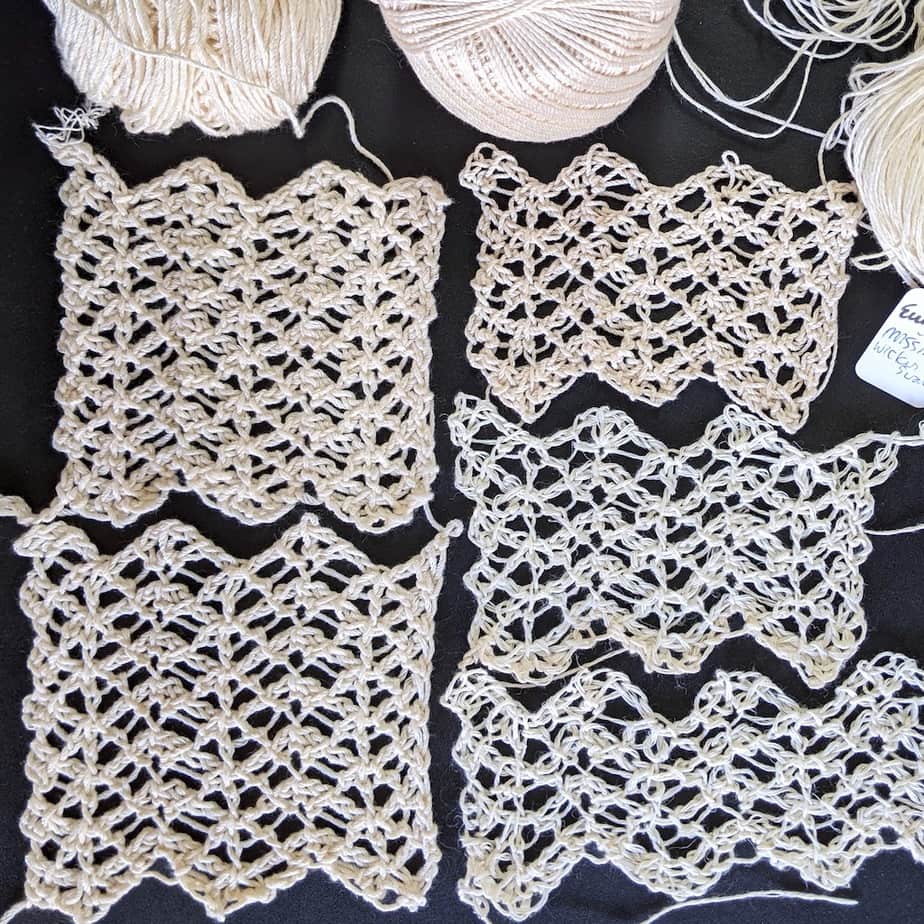
Five lace swatches arranged flat, each a bit different.

These 5 swatches test many things like yarn twist, fiber content, crochet hook size, and a stitch variation. The two leftmost swatches are my Lotus yarn with a 5 mm (H) crochet hook and a 5.5 mm (I) hook. Top right: J.P.Coats Royale and an H hook. The other two are Euroflax linen with a 4.5 mm (G7) hook and an H hook.

I’ll get to these in a bit.

First, my “pullover” plans.

Basic Lace Pullover Shape

Most of all, I want long sleeves of this lace. Kind of roomy but not as much as a kimono. Long sleeves are a commitment! And, I’d like to use only simple shapes—no shaping, just a few rectangles—but I might need to do a bit of tapering to avoid kimono sleeves.

I’l be crocheting from the top down instead of bottom up (or possibly from side-to-side), because I want the option to stop at a cropped length. This way I could wear it during class and then add length later.

What About the Head Opening? Neckline?

I like wearing V-necks, and boatnecks if modified slightly. Both are great for a lace pullover. This lace will be easy to steek! This means it’s “self-healing” if you cut it. So I have a nice option of just crocheting big rectangles, then cutting a head opening later!

If I crochet the rows horizontally, a steeked neckline would be a boatneck type. If crocheted side-to-side, the rows would run vertically, and a steeked head opening would result in a V neckline.

All of these things help bring the construction method into focus.

The Swatches

I used the same Zegue variation for all five swatches. Instead of extended Tunisian knit stitch (“Teks”), I used a twisted Tunisian extended stitch (“TwTes”). I’ll demonstrate how to crochet both of these in class, and more.

The three yarns I tested are considered sport weight. I used hook sizes ranging from 4.5mm to 5.5mm because this is Tunisian crochet. A crochet hook size of 3.5 (E), 3.75 (F), or 4.0 (G6) with sport weight is more typical for regard crochet.
Twist and Spin

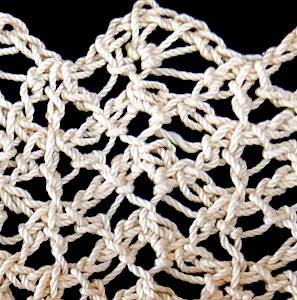
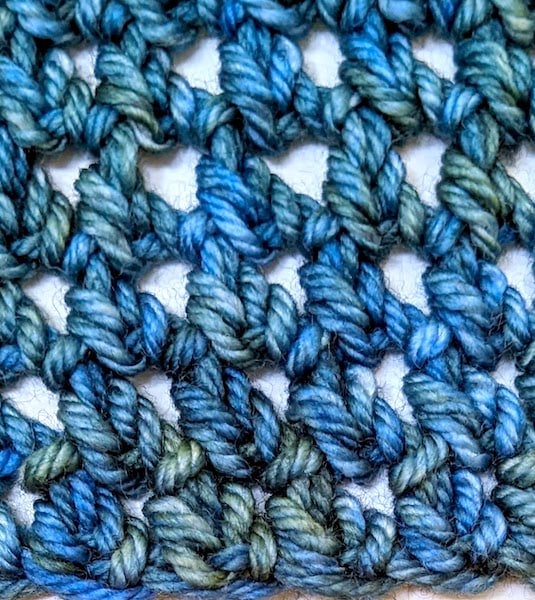
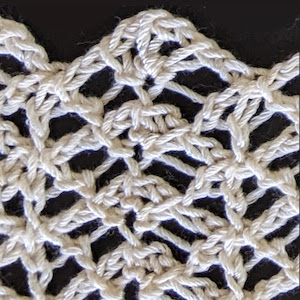
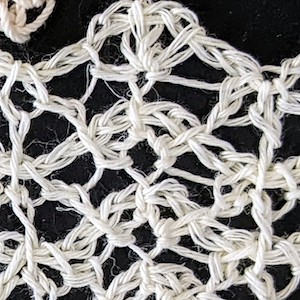
Three kinds of twist are going on in these swatches! The yarn is twisted, the crocheter adds some twist, and the stitch loops are twisted. So, I tested this pattern with yarns spun in both directions. You can see the texture differences in the close up photos.

I crochet right handed, so I automatically add a little counter-clockwise or “Z”-twist to the yarn as I go. Crocheting left handed does the opposite: adds a bit of clockwise “S”-twist to a yarn. The twisted-loop Tunisian stitch I used adds “S” twist. A leftie would twist the loop in a “Z” direction. It’s a lot of twisting. Or, untwisting.

Please bear with me, I just have to get this out of the way: yarns with two or more plies twisted together also tend to start off with twist in the opposite direction, but this doesn’t concern us here. The Lotus and Royale yarns have S-twisted plies that are then twisted together in a Z direction. This is called its “final twist”. For this project I’m only concerned with a yarn’s final twist direction.

Yarns vary not only in their twist direction, but also in how much twist. A yarn with a lot of twist is said to have a “hard twist”. The Euroflax yarn is a good example of a “soft twisted” yarn.

The Lacy Verdict

I started out hoping I would love the Euroflax. I’ve had 1600 yds of it waiting in my yarn stash since 2007! Still waiting for the perfect project for it, I guess. I love linen and I only want to use it if the project shows it off. Here, though, it looks old and stringy.

Until I tried a 5.5 mm hook with the Lotus, I preferred the Royale. The surface texture looks rich and fascinating in person (in photos the surface texture tends to look flat). It has enough twist to stay twisted even with all the S-twisted stitch loops. The ropy look gives a slight nautical and casual effect compared with the fine-grained sheen of the 12-ply Lotus.

If you can pick out the return pass chains in the Euroflax swatch, you might see that my Z-twist crocheting of them has canceled out almost all of what little S-twist the yarn has. Then see how the forward pass stitches with their S-twisted loops preserve the yarn’s S-twist better.

Lace Pullover: Next Steps

  • Measure the rows and stitch repeats per inch of the Lotus swatch I did with the 5.5 mm crochet hook.
  • Decide the finished length and width I want of the sleeves.
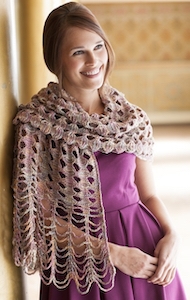
  • Decide if I’m crocheting the rows from sleeve cuffs to cuff, or widthwise. I’m leaning toward two widthwise sleeve pieces for a v-neck result like this top (except with longer sleeves).

My working name for it is Clarenzeg (link goes to its Ravelry project page). I can’t wait to start!
Posted on 1 Comment

Crochet Herringbone Chains Class Resources

Up to date as of 5/14/2022. This page will be updated again before class time and possibly after. 
View high-res versions of Herringbone Chains images in its photo album.
This page is a conveniently clickable group of things I mention in the new Crochet Herringbone Chains class. This two-day class will be held Wednesday, May 18 & Thursday May 19, 2022 at 1:00 pm – 2:00 pm Central Time.  — Vashti Braha

A Unique & Versatile Stitch

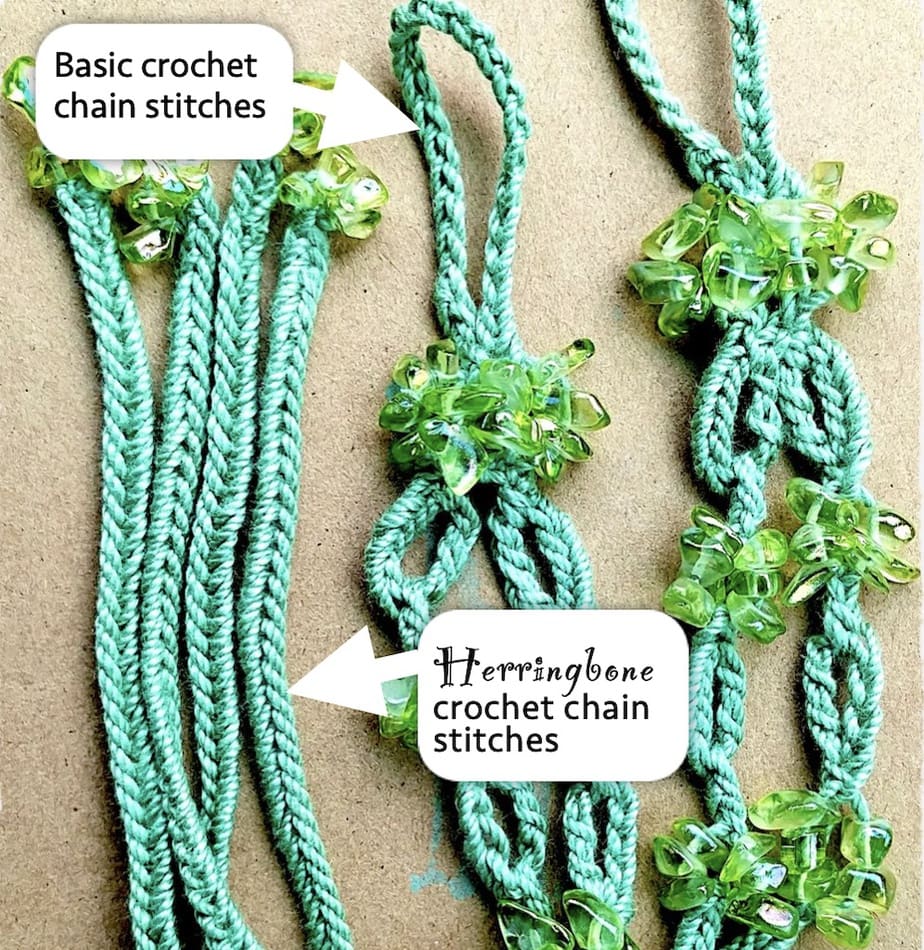
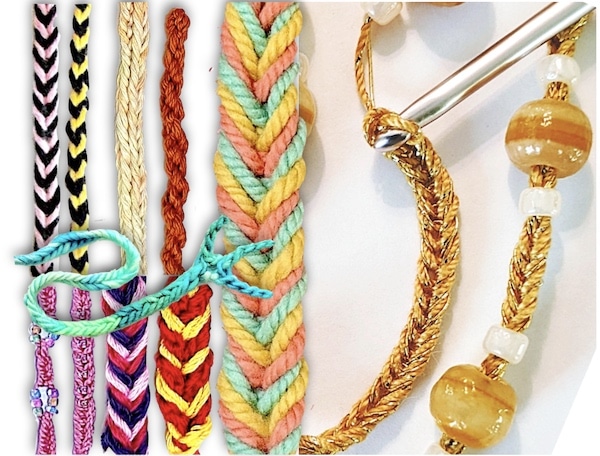
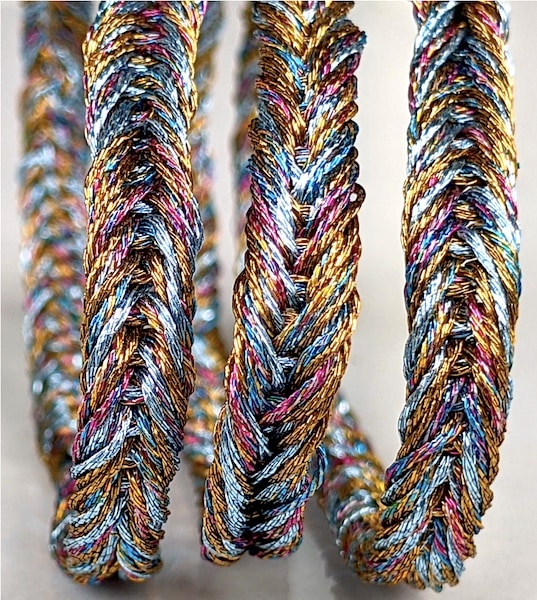
Herringbone chains are naturally sleek, strong, dense and flatter than regular crochet chains. This makes them as useful for functional reasons as for decorative ones. They twist up less than regular chains. This type of chain stitch has the same structure as the decorative military bugle cord that knot tyers traditionally make. They have a single bugle, double bugle, triple and more; we’ll learn how to crochet all of these!

Herringbone Chains on a big scale in three colors of chunky wool
Herringbone Chains on a big scale: triple-herringbone variation in three colors of chunky wool

This handy new crochet stitch resembles fishtail braids and soutache cord. When crocheted very loosely, it also looks like nålbinding.

Projects & Stitch Patterns

(In progress.)

Crochet Herringbone Chains and regular chain stitches
  1. Nankeen Necklace (2022).
  2. Tunisian Herringbone Zegue (2022).
  3. Lizzie Cuff (2021). Pictured at the top of this page.
  4. Beaded Herringbone Barefoot Sandals (2019), at right (or below if you’re on mobile).
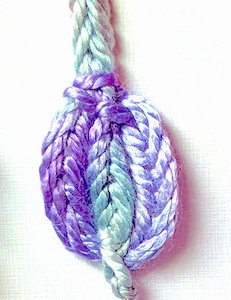
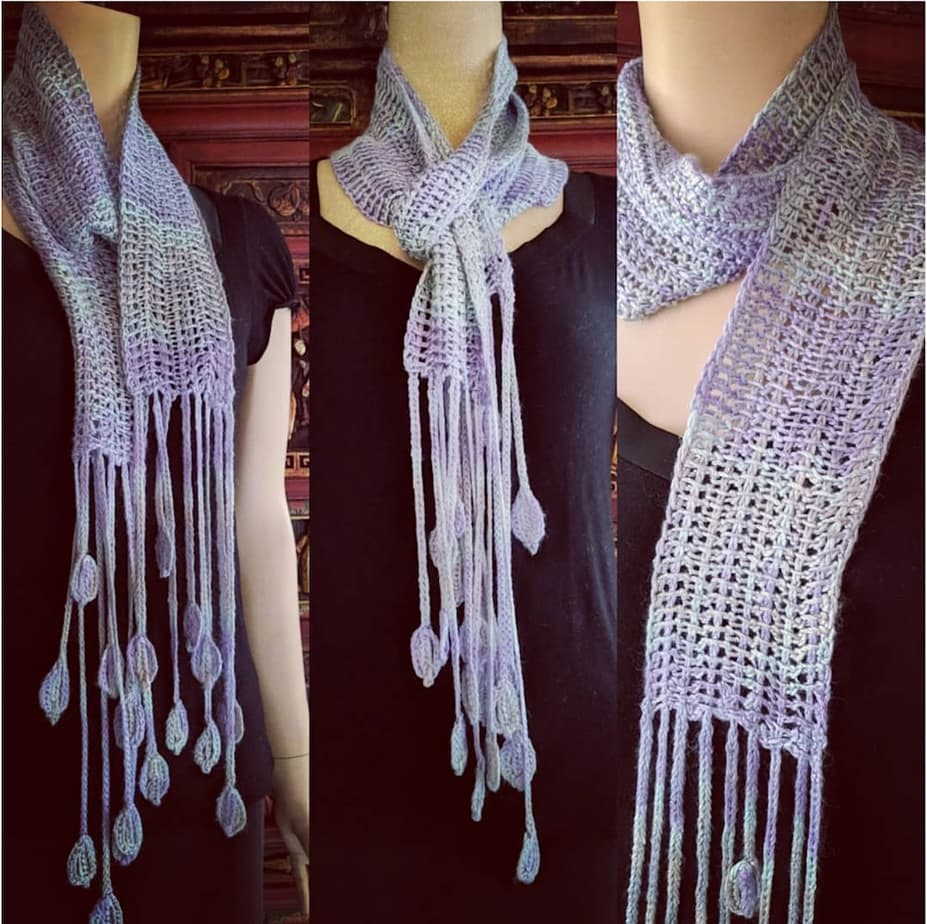
  5. Rainchains silk skinny scarf (2018). See close up of raindrop in gallery, above.
  6. Lizard Cord (2018).

Herringbone Chain Swatches & Tests

Eleven Herringbone-Chain Cord experiments in fiber, color changes, beading, and stitch size
Herringbone-Chain cord experiments with beads, stitch size, color & fiber changes.

Flickr photo album for this class. A great way to see class material at full resolution, and an array of new uses and variations. I use stitch albums like this one for my own reference. I’m continually creating swatches and photos to add to this album.

My Pinterest Herringbone Chains Pin Board created for this class topic. It compares the look of herringbone chains with other arts–beading, leatherwork, embroidery, etc.

Recommended Articles

  • “Fancy Cords in 360°” Crochet Inspirations Newsletter Issue #17 (04/28/2011; most links in it are out of date)                  
  • “Tweak Those Gaps Along Row Edges” Crochet Inspirations Newsletter Issue #25 (08-2011; most links are out of date)
  • “Effect of ‘Sproing’ fibers on stitches”: Vashti’s Crochet Inspirations Newsletter Issue #11 (Feb 3 2011; links in it are out of date) 
  • “Wish Bracelets: Why Not Crocheted?” Vashti’s Crochet Newsletter Issue #69 (07/04/2015; most links are out of date)
  • “What IS Crochet, Really?” Vashti’s Crochet Newsletter Issue #103 (10/2020)  

Inspiration Boards for this Class

Still need to register for this class? Register with CGOA. This is a NEW two-hour class held online over two days: Wednesday, May 18 & Thursday May 19, 2022 at 1:00 pm – 2:00 pm Central Time. Registration closes 5/15/22 or when the class is filled.

Posted on 1 Comment

Extended Tunisian Stitches – Class Resources

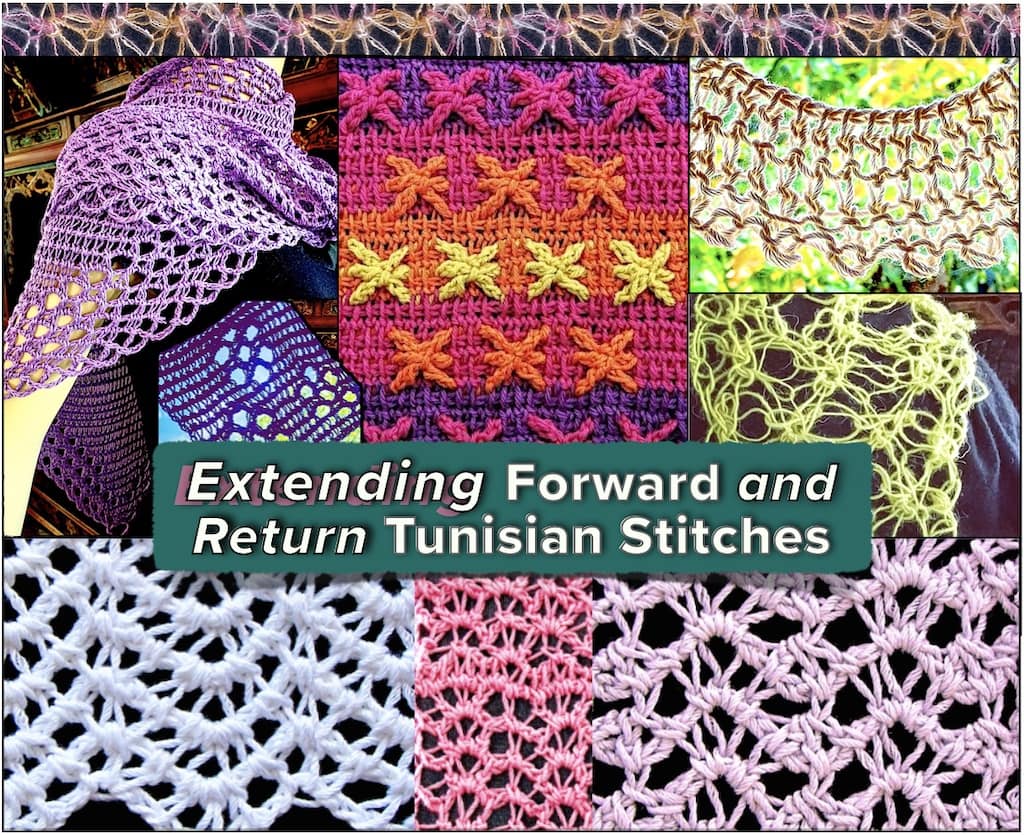
Extending Forward and Return Tunisian Stitches

A NEW class for 2022. This is a three-hour class that was held online for CGOA over two days: Tuesday February 1 and Wednesday February 2, 2022.

Why Extend?

Extended Tunisian stitches bring new textures and flexibility to Tunisian Crochet, sometimes dramatically! With less yarn, and so little effort too. I’ve been exploring extended versions of standard Tunisian stitches for many years. Scroll down to see the Extended Tunisian Stitch Design Gallery.

Here’s why I do it:

  • Make quick progress on a big project, or with very fine yarn. Each row is taller.
  • Get more mileage out of a small pricy skein. An extended Tunisian fabric weighs less because extended stitches are a bit thinner.
  • It’s easy to add shells and other groups of increases wherever you like. This is not true of the most common non-extended stitches–unless you start the stitch with a yarn over, such as a Tunisian double crochet, which is a bit bulkier.
  • Do fine gradations of stitch heights: get the perfect row gauge as well as the stitch gauge stated in a crochet pattern. Make sloping rows for cool color effects. These are options we take for granted with regular crochet.
  • Many of these stitches are self-healing, meaning if you cut (“steek”) them later to make armholes or a head opening they will form their own safely bound off edge.
  • New mosaic–overlay–intermeshed types of colorwork with Tunisian get a boost from extended stitches. See my recent Embossed Stars post.

Makes Great Fabrics!

  • Eliminate the “Tunisian curl”–that annoying thing that happens when the edges of your work roll up while you’re crocheting more rows onto it. Crocheting lace avoids this curling, but extended Tunisian stitches work for dense, non-lacy patterns too.
  • Clothing fits comfortably. Extended Tunisian fabric has more flex, more drape, more stretch. Really thermal yarns, like mohair, alpaca, and Angora have room to expand and breathe.

The Class Resources

Extended Tunisian Stitches: Design Gallery

Relevant Newsletter Issues & Blog Posts

These are issues of my Crochet Inspirations Newsletter, and blog posts, spanning 2010 to today. Keep in mind that many links in pre-2018 newsletter issues are broken.

Swatches & Tests of Extended Tunisian Stitches

Flickr photo album for this class. This is a great way to see class material at full resolution, and to see an array of new stitch patterns. I love scrolling through my stitch albums. I’m continually creating swatches and photos to add to this album so check it again!

My Pinterest Pin Board created for this class topic. I’ve been finding some creative looks for extended Tunisian stitches in other crocheter’s pins from around the world. We discuss some of them in class.

My Extended Tunisian Stitch Projects (Ravelry)

Extended Tunisian Crochet projects in Ravelry. (Log into your Ravelry account first.) Of my 91 Tunisian projects (so far), these have extended stitches:

  • Embossed Thread Stars; Embossed Thread Coaster; Tunisian Soma Stars
  • Zegue; Ziggy Vest
  • Rainchains
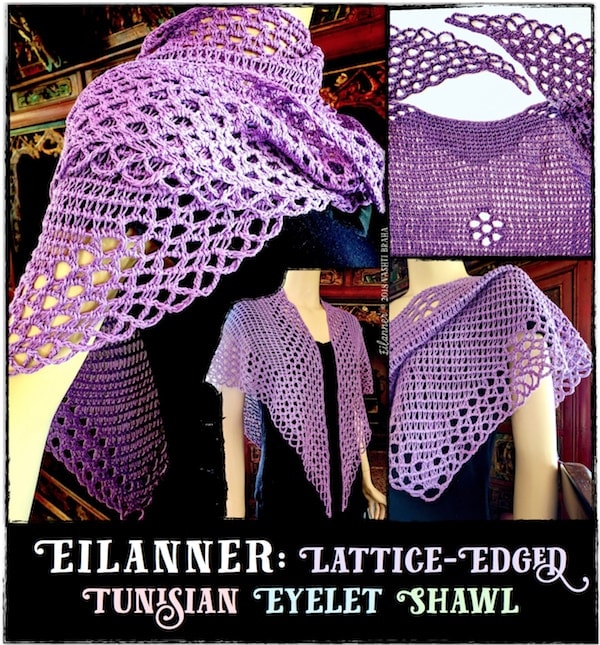
  • Eilanner
  • Graven (its collar)
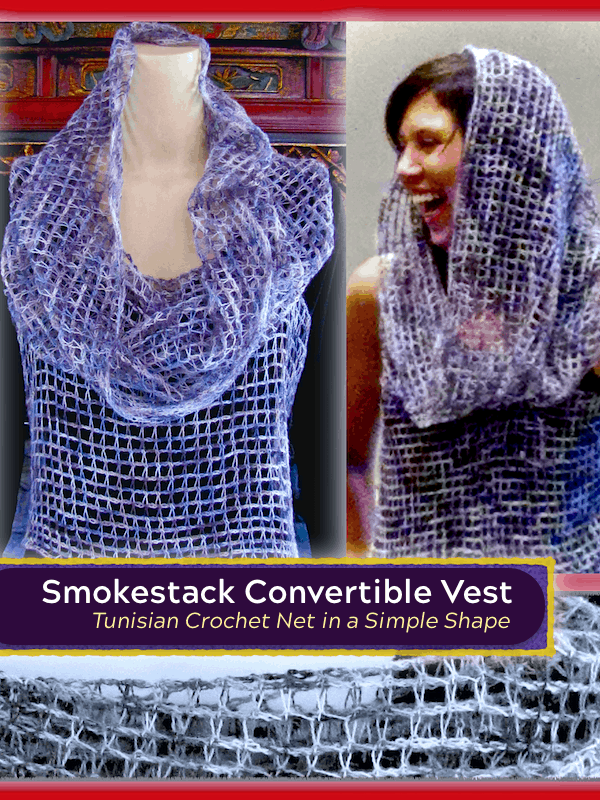
  • Summer Storm Curtains; Smoky
  • Spoonbill Panel Scarf; Tunisian Spoonbill
  • Zylpha Tunisian Net; Marshmallow Mesmer; Tunisian Mist; Mesmer I
  • Diamond Coaster and the next 4 projects after that
  • Rivuline Shawl
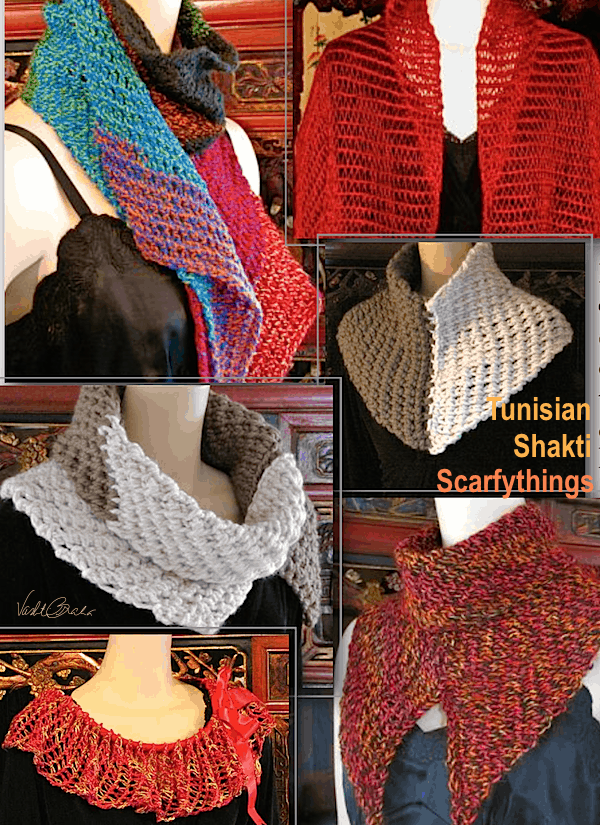
  • Shakti Eyelets
  • Thickie-Dickie
  • Neck Lattice
  • Ostara
  • Swizzle-Shakti
  • Melusine’s Wavest
  • Skinny Shaktism and next 2 projects
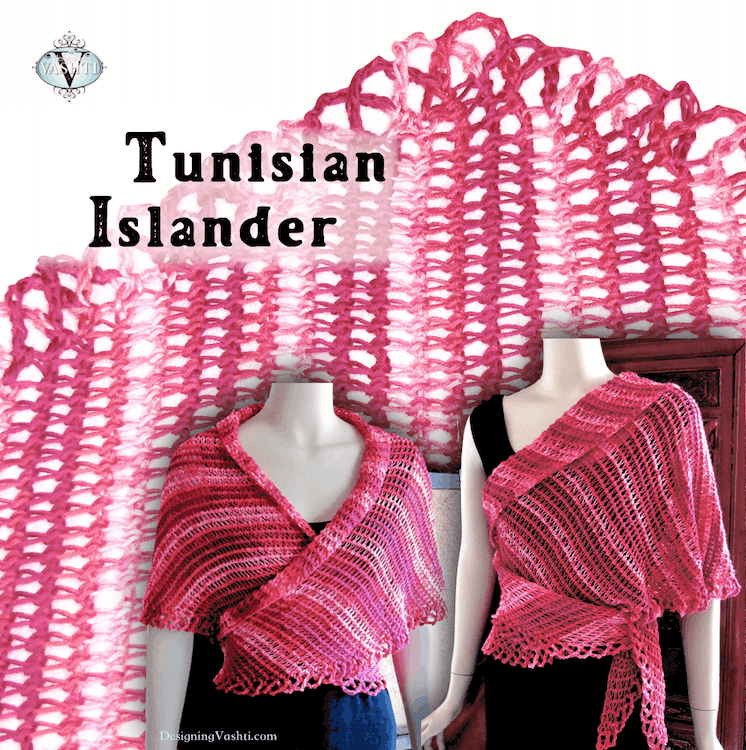
  • Summer Islander; Tunisian Island Wrap
  • Vanilla Crown Hat (band)
  • Julep Shrug (sleeves)

Some are pictured above; I’m still adding they images to the Extended Stitches Flickr album.

Posted on 2 Comments

How to Emboss Tunisian Return Stitches (Free Pattern)

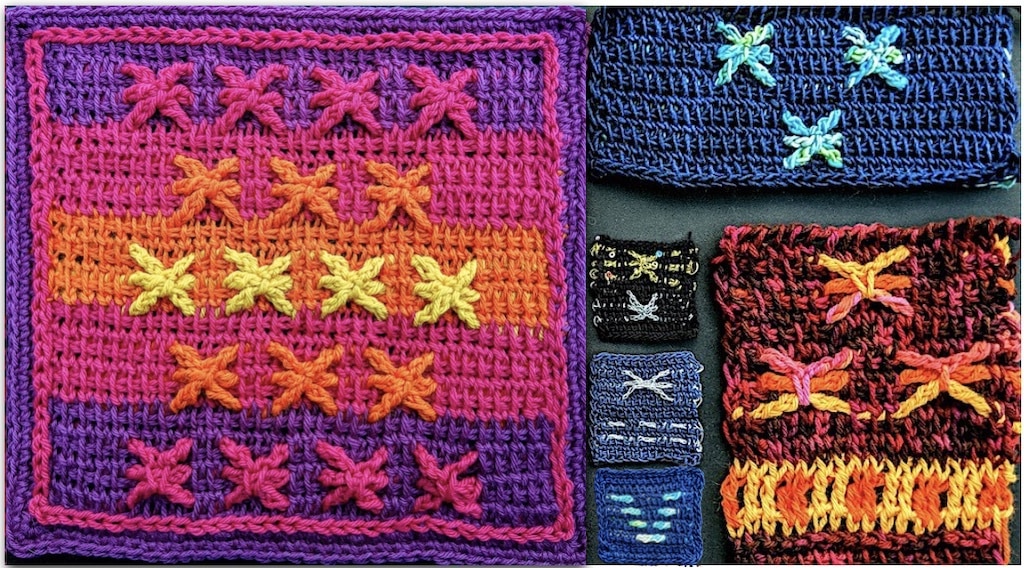
Six swatches of embossed Tunisian color work method: stars with longer spokes and in a range of yarn thicknesses and fibers; also examples of embossed horizontal bars left ungrouped into stars.

Today I’ll show you how to “emboss” Tunisian return pass crochet stitches step by step. The complete pattern for the blanket square is also included below. The background stitches are Tunisian extended simple stitches (TES). The starry groups are extended Tunisian Yarn Overs (TYO) in contrasting colors.

My 12-inch square for Knitter Knotter’s 2021 Tunisian Blanket Crochet-Along (CAL) features this novel color work method for Tunisian Crochet. The finished 12″ square is the one on the far left in the image above.

About the 2021 Tunisian Square CAL

I love how the CAL is going! Host Arunima Goel has created a fun way for designers to contribute a square, and for crocheters to experience new Tunisian stitches. My square is #18. By the end of 2021 there’ll be 24 fresh and free intermediate-level 12″ square patterns.

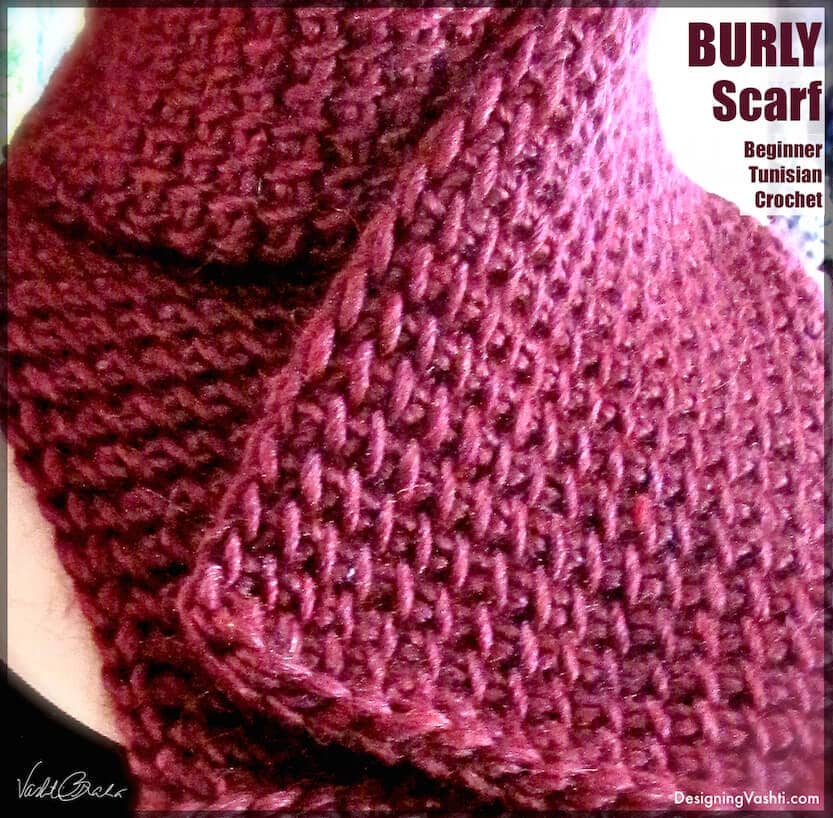
Plush, chunky scarf texture from basic Tunisian Crochet stitch and a high-end yarn.

Are you a Tunisian Crochet beginner? Or just need a quick review?

This Colorwork Method

I seem to have stumbled upon a way to get a fully raised texture horizontally, and in a contrasting color. And, no lacy holes!

I wanted to test the usefulness of extending Tunisian Yarn Over (TYO) groups. Sometimes a group of several TYO can get loose and loopy, just like the yarn overs of really tall stitches tend to do in regular crochet. Extending tall stitches by adding a chain here and there while making them helps use up that slack. (For some alternatives to extending, see How to Fix Loose Loops of Tall Stitches.)

Embossing return stitches has potential.

  • As a return-pass-based color work method it can be combined with existing Tunisian Mosaic, and especially Overlay methods. These are forward-pass-based methods that do fancy things vertically, with tall stitches. The possibilities boggle!
  • Make other embossed shapes. Once you learn how to emboss Tunisian return stitches, you can make other shapes besides the starry groups you see here. Arrange horizontal bars in patterns. Make some longer or shorter. Modify the stars to have spokes in different lengths or amounts.
  • As a fabric, it’s self-reinforcing yet lean and flexible. This is mainly thanks to the Tunisian Extended Simple Stitch (TES). If you’ve followed my newsletters and Tunisian classes over the years, you know I’m a big fan of extending Tunisian stitches. Normally TES fabric would be too thin or lacy for a blanket square. This is where the embossed rows come in.

How to Emboss Tunisian the Easy Way

For your first try, pick two colors and alternate them for each row: a main color (MC) for the background, and a contrast color (CC) for the raised embossed stitches. The colors will help you see where to put each next stitch.

Follow the practice swatch; it’s just twelve rows of ten stitches each. The instructions also explain the why’s, and pattern abbreviations as they come up.

Continue reading How to Emboss Tunisian Return Stitches (Free Pattern)
Posted on 1 Comment

How I Crochet Two Rows at Once (Lacy)

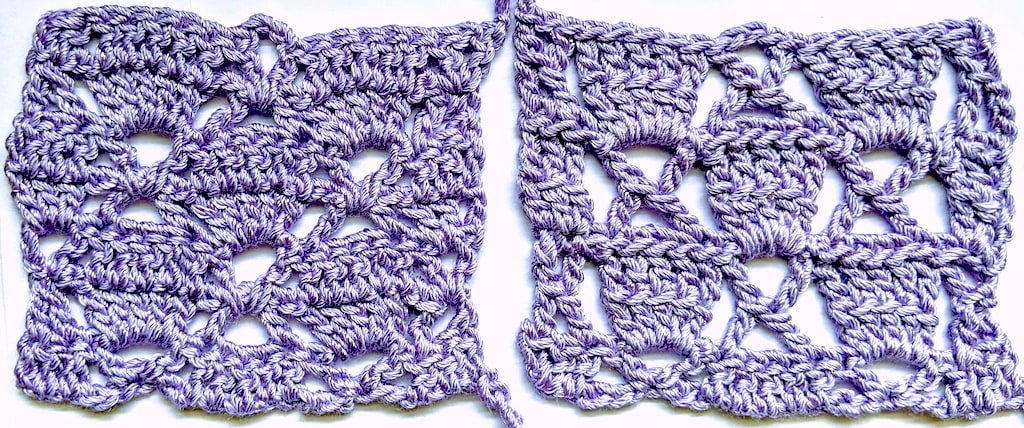
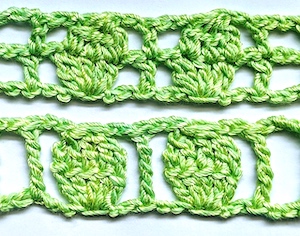
Crochet two rows at once of this lace stitch pattern by using X-stitches and shells of linked taller stitches. One-row version is on the right.

There’s more than one way to crochet two rows at once. You can also crochet three or more rows as one. I’ve only seen other people combine two rows with plain and fairly dense stitches, like rows of all single crochet or double crochet (in UK & AUS that’s doubles and trebles). I’m going to show you how I did it with a lacy stitch pattern.

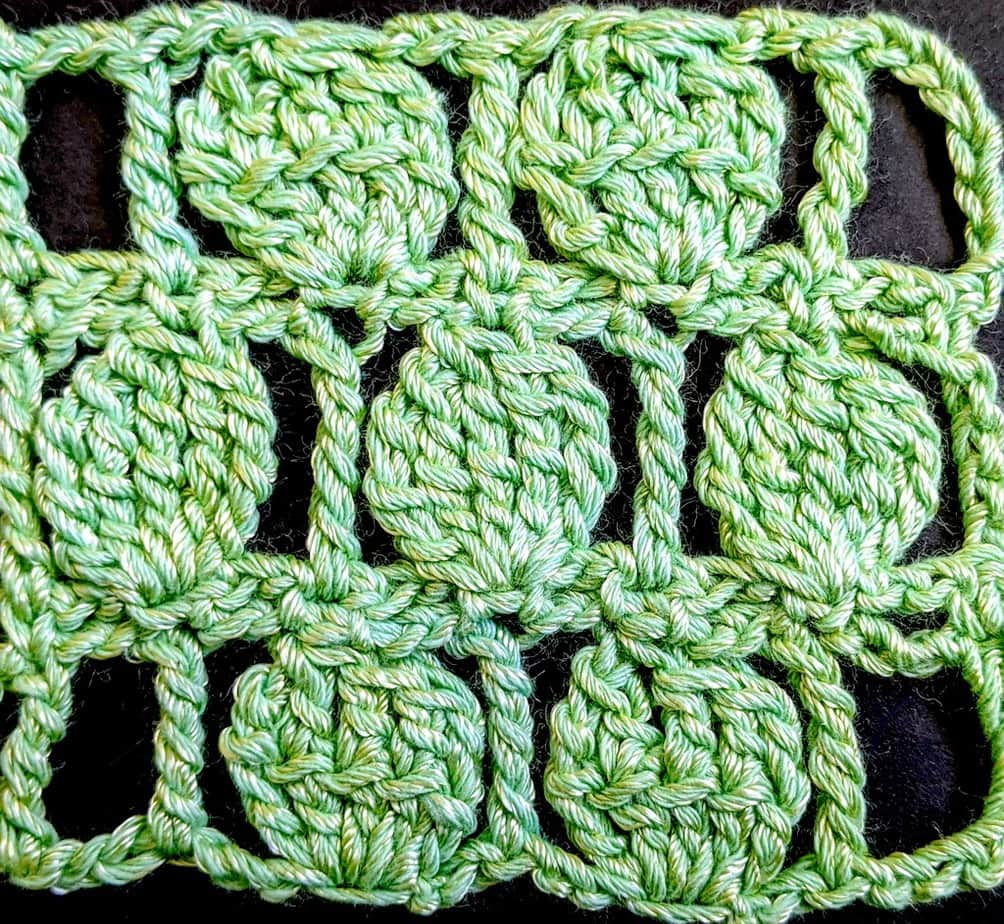
The green swatches below are from my newsletter, issue #102: “Wild Whys of Y-Stitches”. I didn’t have room to include the lavender ones shown above. That means this post also qualifies as newsletter overflow, woo-hoo!

Crocheting two rows as one is a tall stitch “hack” that I stumbled on while researching X- and Y-shaped stitches with my upcoming online class in mind, Tall Stitch Virtuosity. In this post I’ll break it down, ending with actual row-by-row instructions for a 2-row stitch pattern, and for my one-row version of it.

Linked Stitches: Classic & Beyond

First, we all need to be on the same page about linked stitches if we’re going to crochet two rows at once.

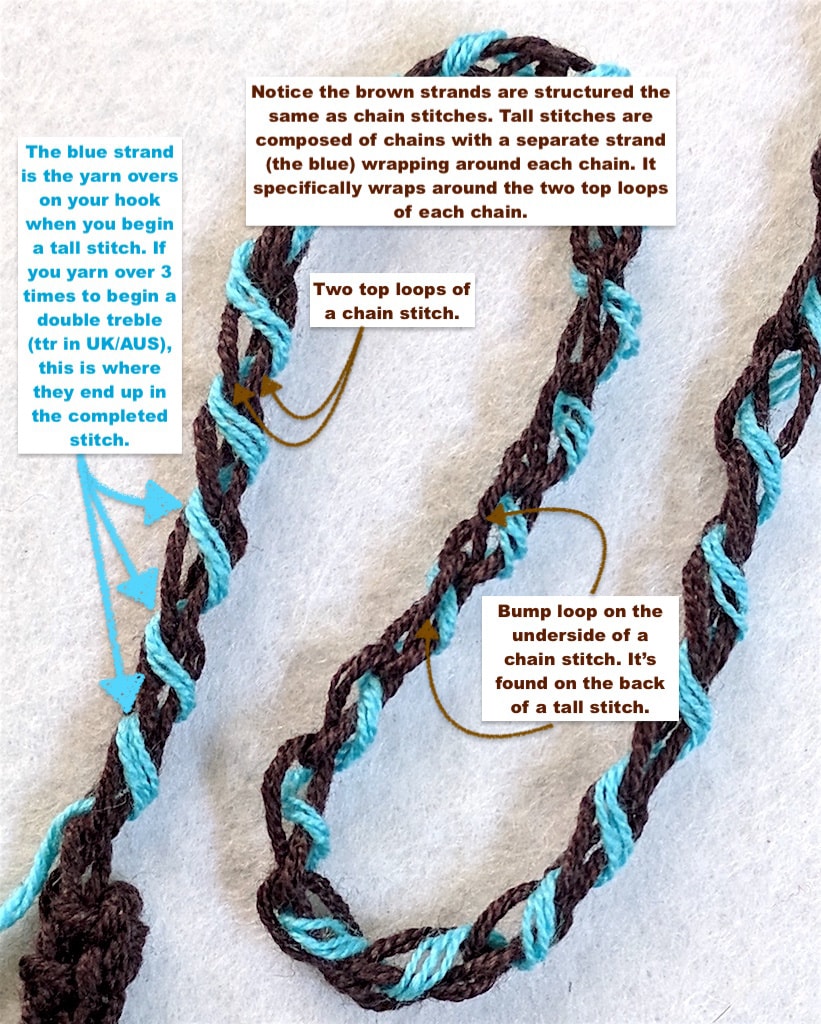
A world of special effects with linking opens up when you can identify the individual strands of a tall stitch. I’m surprised how long it took for my eyes to distinguish what goes on in tall stitches, structurally. I used to think they were like bundles of muscles and ligaments.

So, let’s dig in to what each strand is doing in the post (a.k.a. stem) of an astonishingly tall 2-color stitch. I loaded yarn overs onto my hook with blue yarn. Then I worked them all off the standard way (two by two) with brown yarn. I crocheted it loosely so you can see through the stitch:

Close up of a very tall crochet stitch. The yarn overs are done with a contrasting color to show that intiial yarn overs are a separate strand that wraps around a series of chain stitches. Together this creates the post of a basic tall crochet stitch.
I used this image in issue #94 of my newsletter, “Stitch Parts: Where We’re At” to compare Tunisian crochet similarities.
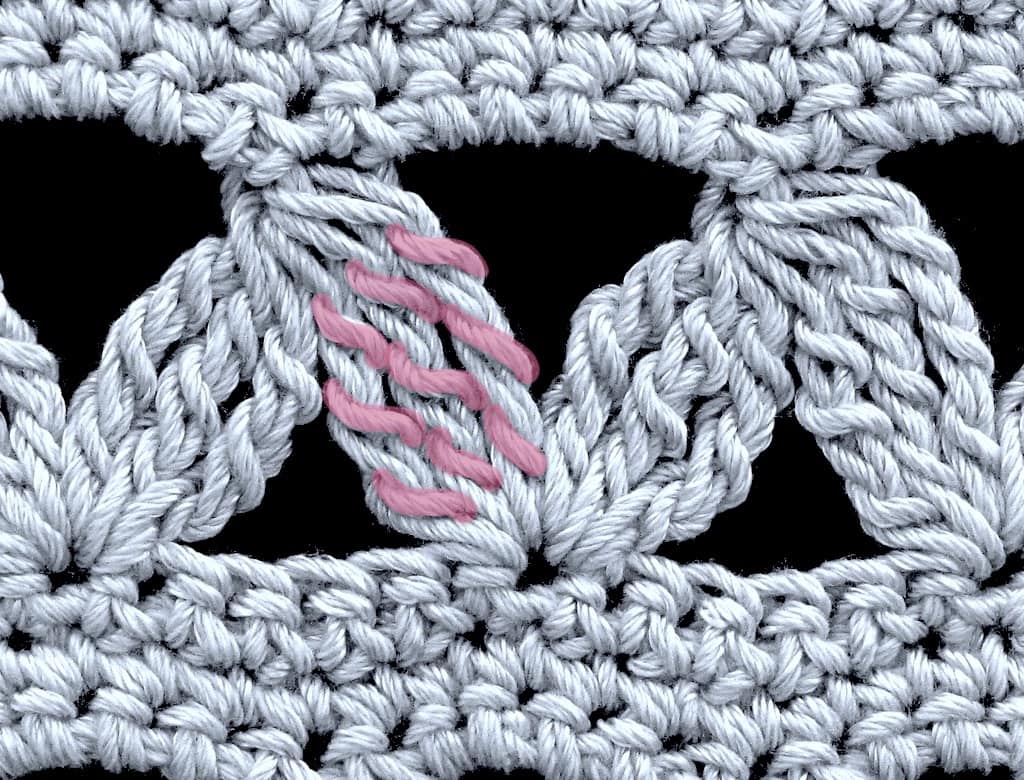
Close up of stitch pattern with tall stitch clusters; the yarn over strands have been tinted to highlight them within a cluster.

Find the Yarn Over Strands

Here’s a row of 6-dtr split clusters (dtr = double treble; in the UK/AUS it’s ttr). I yarned over 3 times to begin each dtr. The tinting shows where the three yarn overs end up in each stitch post.

Tip: Just count the yarn overs in a stitch post and you know which tall stitch was used…as long as it’s not a variation, such as an extended stitch.

Linking the Classic Way

A classic linked stitch is a tall stitch that is linked all along its post to the yarn over strands of the stitch just before it. I call this “classic” because it seems to be the default or expected way to do a linked stitch, even though in actuality the ways to link them are infinite.

The classic method welds them together from top to bottom. In photo A below, all of the tall stitches are linked in three places. The right cluster is “classic”: all 3 yarn overs link to the 3 yarn overs of the previous stitch. In photo B, this is what you get when you link the yarn over of each double crochet of every row.

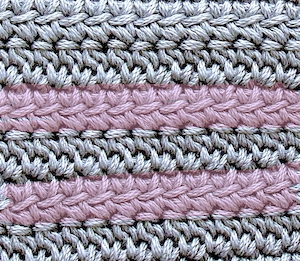
In photo C, I forgot to link the clusters in the middle row. The clusters in the bottom and top rows are linked only with the middle yarn over. Can you see the horizontal strands where they’re linked? It causes the cluster to flatten just a bit and to move as one unit, almost like a coin. I like their surface texture. They’d probably become stiff and a bit concave if I linked them the classic way, with all three of their yarn overs.

I’ve used classic linked stitches as borders for Tunisian designs like Liebling and Graven. The pros and cons of classic linked stitches resemble those of Tunisian simple stitch (Tss):

  • It eliminates gaps between tall stitches. This may be its most common use. It also tightens the gauge a bit. It’s a great fabric for a bag (Sterling).
  • It changes the surface texture to the flatter woven look of Tss.
  • The fabric feels thinner. It has less stretch and less drape. Stitch fronts may bend slightly inward in a concave way. (Akin to the “Tunisian curl”.)
A dtr that is linked in only one of its 3 yarn overs.

Selective Linking

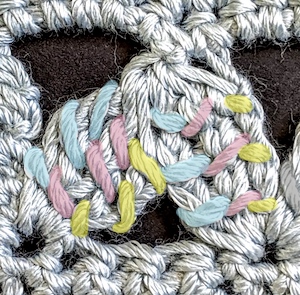
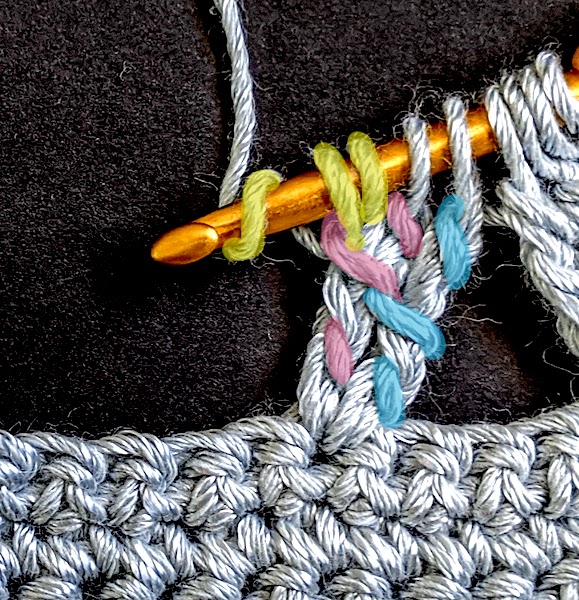
Here’s a row of 3-dtr clusters in progress; I’m linking only their middles. The 3 initial yarn overs of each dtr are tinted. See how the middle pink and blue yarn overs are linked? The other blue and pink ones are not.

Yellow-tinted yarn overs for a new dtr are on the hook. See that the 2nd yellow one is linked to the 2nd pink one? Here’s how:

Yarn over (counts as 1st of 3 initial yarn overs in yellow); insert hook down through the top of the the 2nd (pink) yarn over of the previous dtr, yarn over and pull up a loop in it (counts as 2nd of 3 initial yarn overs); yarn over (counts as 3rd of these yarn overs). To complete stitch, insert hook in same stitch of row as the previous two dtr, *yarn over and pull up a loop, yarn over and pull through two loops on hook, repeat from * twice. In this case for a cluster, yarn over and pull through the remaining loops on the hook.


Crochet Two Rows at Once, Creatively

I hope you’ll explore what you can do with linked stitches. Here are some that need future blog posts.

  • X- and Y-stitches are very much like linked stitches; the main difference is the next stitch is started in the side of the stitch post, not just linked to it. For an X or Y shape, the next stitch is shorter, like a branch crocheted onto the “trunk” of a taller stitch. I needed X-stitches for the lavender swatch (top of the page) to be able to crochet two rows at once. The two-row version has a V-stitch crocheted into an inverted V-stitch. Isn’t that a two-row X?
  • I’ve discussed where to link, and how many times to link in the same stitch. What about how you might link. The equivalent of a slip stitched link is where you insert your hook in a strand of the previous stitch and leave it on the hook (don’t yarn over and pull up a loop in it). The opposite would be to start a taller stitch there: it worked for me when I crocheted a letter A-shape.

A Sample Two-Rows-as-One Pattern

  • Pattern abbreviations: ch = chain stitch, dc = double crochet (UK/AUS tr), dtr = double treble (UK/AUS ttr), sc = single crochet (UK/AUS dc), st(s) = stitch(es), yo = yarn over hook
  • Special Stitches:
    • Shell = [2-dc cluster, dc, 2-dc cluster] all into designated stitch
    • 2-dc cluster = *yo, pull up loop in designated stitch, yo and pull through two loops on hook, repeat from * in same stitch, yo and pull through all loops on hook.
    • Split Cluster = [*yo, pull up loop in first st of Shell, yo and pull through two loops on hook, repeat from * in same stitch], [yo, pull up loop in 2nd st of Shell, yo and pull through two loops on hook], [*yo, pull up loop in 3rd st of Shell, yo and pull through two loops on hook, repeat from * in same stitch], yo and pull through all 6 loops on hook.
    • Coin-Cluster = Yo 3 times, insert hook in next st, *yo and pull up a loop, [yo and pull through 2 loops on hook] 3 times, yo, insert hook in 2nd yo strand of previous st, yo and pull up a loop, yo, insert hook in same st of row, repeat from * four times, [yo and pull through 2 loops on hook] 3 times, yo and pull through all 6 loops on hook.

Original Two-Row Stitch Pattern

Chain 20 for a swatch. (Multiple of 6 stitches + 5.)

  1. Row 1: Dc in 8th ch from your hook, *ch 1, skip next 2 sts of row, Shell, ch 1, skip next 2 sts of row, dc in next st, repeat from *. Ch 5, turn.
  2. Row 2: Skip next 2 ch, *dc in next dc, ch 2, skip next ch, Split Cluster over next 3 sts of Shell, ch 2, repeat from *, dc in next dc, ch 2, dc in 2nd ch of turning ch.
  3. Repeat Rows 1 and 2 for pattern. Or, for Row 3 put Shells where the dc are, and dc where the Shells are to stagger the pattern.

The One-Row Version

Chain 23 for a swatch. (Multiple of 6 stitches + 7.)

  1. Row 1: Dtr in 11th ch from your hook, *ch 2, skip next 2 sts of row, Coin-Cluster, ch 2, skip next 2 sts of row, dtr in next st, repeat from *.
  2. If you don’t mind having the wrong side of Coin-Clusters facing every other row, repeat Row 1. To have them all face the right side, work this pattern in the round with no turning. Or, use this Row 2 as shown in the swatch: Ch 1, turn. Sc in first dtr, *ch 2, skip next 2 ch, sc in next st, repeat from * to the end of the row, placing last sc in the next turning ch after you skip 2 of them.
  3. Repeat Rows 1 and 2 for pattern. Or, for Row 3 put Coin-Clusters where the dtr are, and dtr where the Coin-Clusters are to stagger the pattern.

So I’d like to hear from you if you’ve had linking adventures, or troubles.

Want to crochet two rows at once of a favorite stitch pattern? I think some probably can’t be done, while with others there could be several ways to combine rows.

I’m eyeing a pattern right now that has 3 rows of single crochet, then 1 row of clusters. I’m mulling how I could turn its 4-row repeat into 2: turn a sc row + cluster row + sc row into one row, and have the sc row that separates them be the one row that faces the wrong side!