Updated July 20, 2020. First posted in 2012.
This clickable list of slip stitch crochet resources is mainly to aid students of my classes in exploring more about Slip Stitch Crochet at their leisure. (If you have not yet taken any of my slip stitch classes, I hope someday I’ll meet you in one of them!) You’re welcome to enjoy the links below whether you’ve taken the classes or not. They represent the extra information that doesn’t fit into a standard three-hour class. Some are the names of designers, books, other types of slip stitch crochet, etc., that I may have mentioned in a class.
— Vashti Braha
Slip Stitch Crochet Class Resources 2020
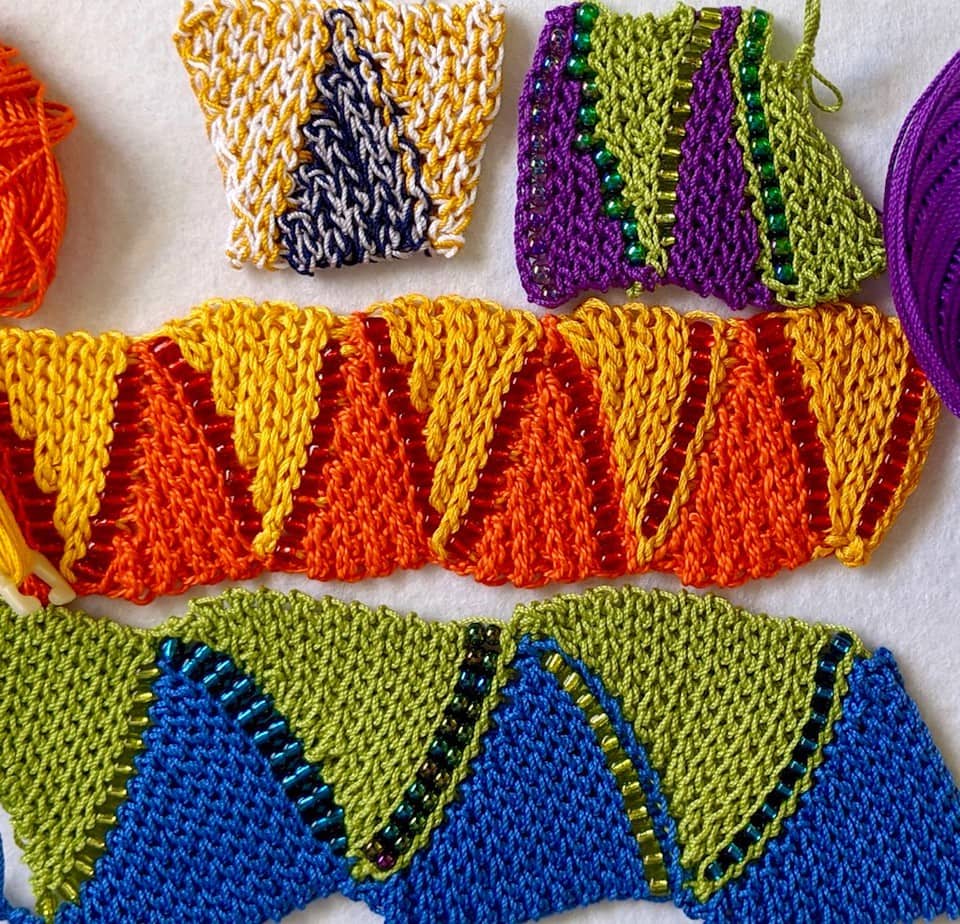
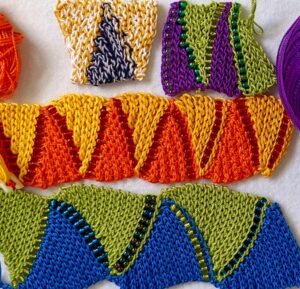
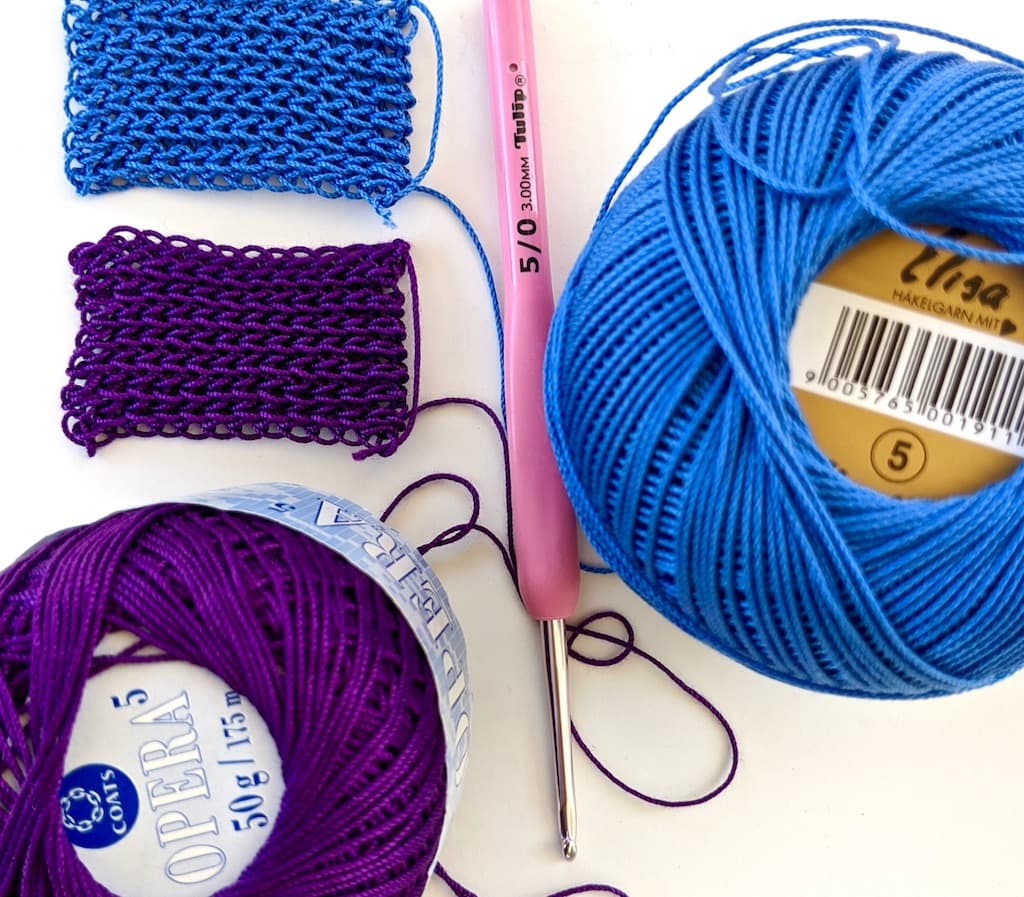
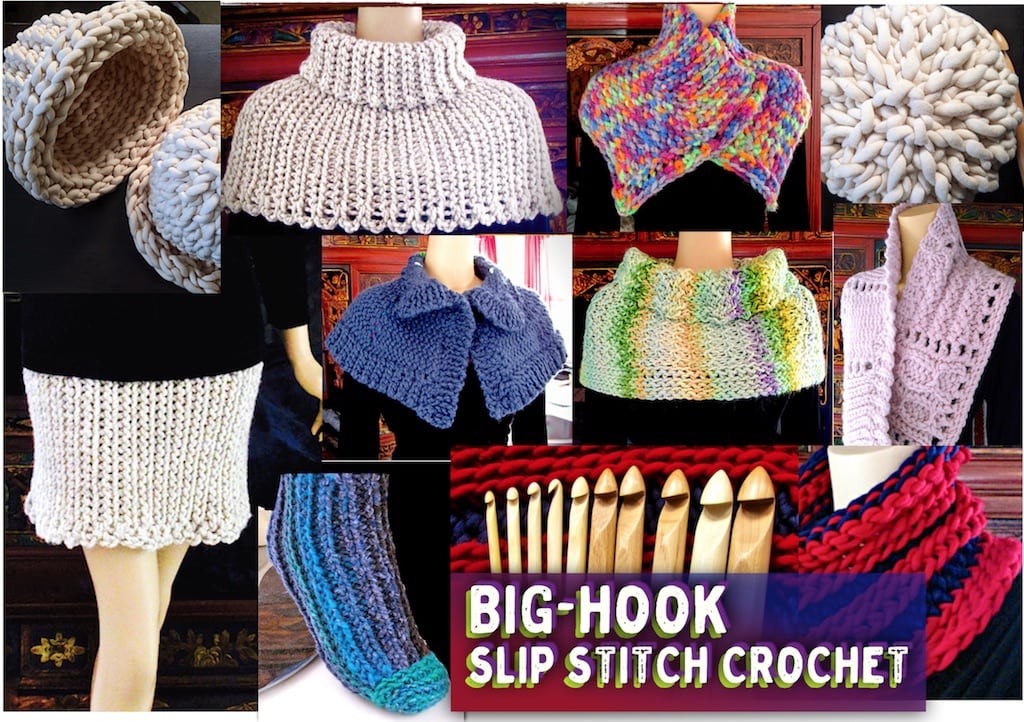
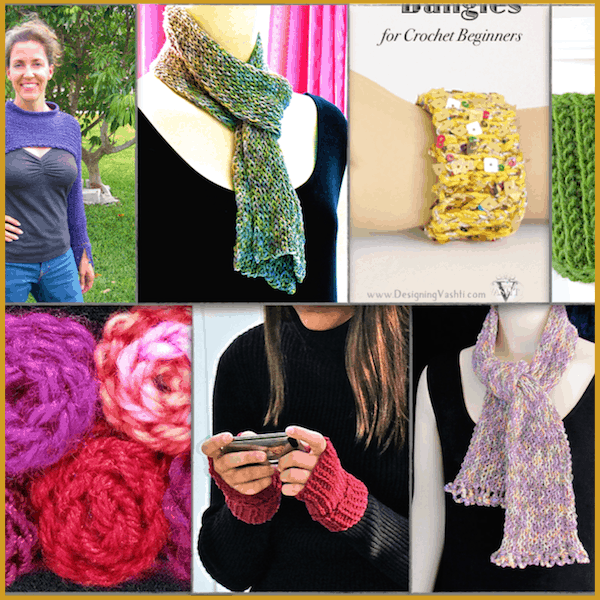
Simple Stitches, Big Hook 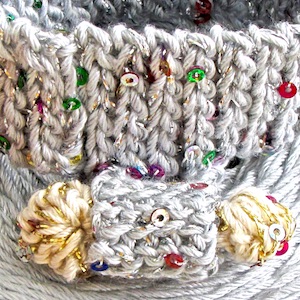
Hold 2 Yarns together 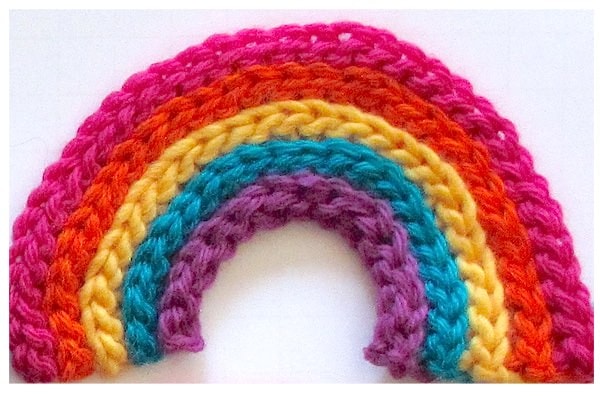
Slip stitch rib: invisible shaping.
Slip Stitch Crochet Designs
- My published Slip Stitch Crochet patterns here in the Designingvashti.com shop.
- My pattern shop at Ravelry.com.
- Page of my not-yet published Slip Stitch Crochet projects (in Ravelry).
- My Pinboard of selected slip stitch crochet around the ‘net (in Pinterest).
Relevant Crochet Inspirations Newsletter Issues
- Issue #9, “Slip Stitch for Style” (from 2011!)
- Issue #27, “Stalking the Wild Slip Stitch” (earlier experiments with lacy slip stitch fabrics; from 2011)
- Issue #29, “Short Row Startle!” (2011)
- Issue #35 “Draping Simple Shapes” (these happen to be big-hook slip stitch fabrics; 2012)
- Issue #36 “Crochet Ribs, Old & New Grooves” (slip stitch ribbing compared with traditional crochet ribs, including yarn use; 2012)
- Issue #42, “Inverse (NOT Reverse) Crocheting” (2012)
- Issue #52, “Slip Stitches, Wool Breeds, and Plying” (2013)
Related Blog Posts
- Slip Stitch Crochet FAQ (Common questions asked in my classes)
- Crochet Beginner Tip: Slip Stitch Fake Facts
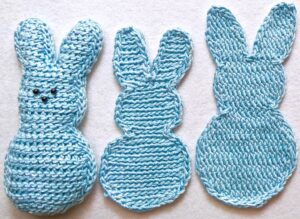
- Slip Stitch Crochet Hearts (free pattern, Intermediate level) & Bunnies!
- Overview: Scope of Slip Stitch Crochet
- Foundation Slip Stitch Photo Tutorial at my older Crochet Pattern Companion Blog
- All blog posts tagged with slip stitch
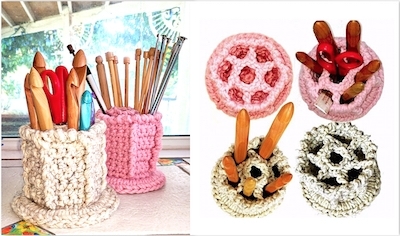
Special to Big Hook Crocheting
- Big wood hooks and jumbo sizes up to size U/25 mm here in the Designingvashti shop. Also, size 7.00 mm (between US sizes K/6.5 mm and L/8 mm) in aluminum and glittery gold plastic!
- Issue #33, “Jumbo Hooks” (2011)
- A Big Hook Bucket to crochet. I use mine all the time.
- All Crochet Hook Sizes in Charts (downloadable)
- Hook-Led Gauge, a core crochet skill. Especially with big hook sizes.
- Deluxe Crochet Hook Diagram (downloadable)
Beginner Slip Stitches 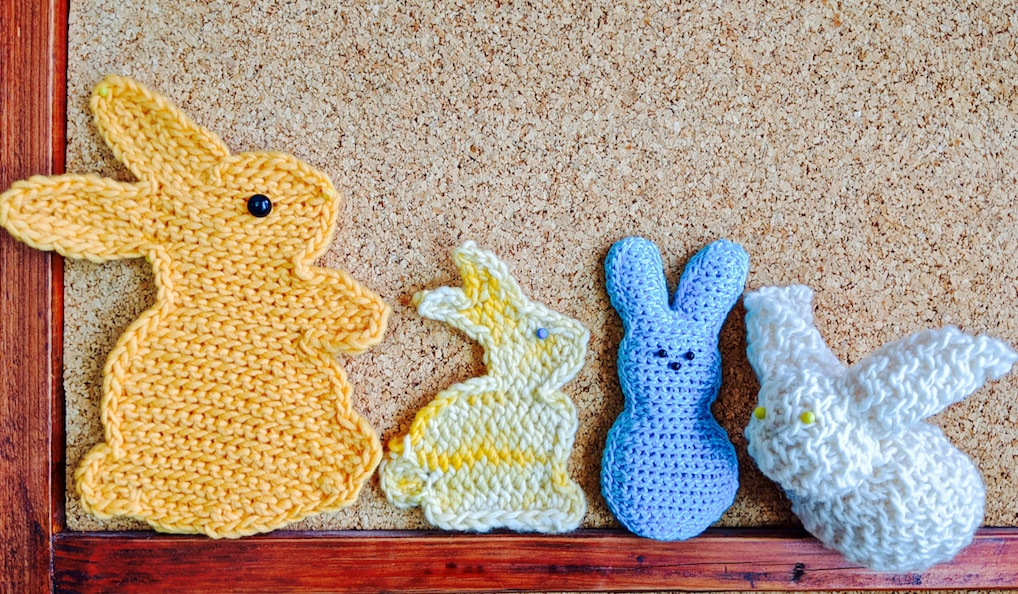
Spring Slip Stitching 2020 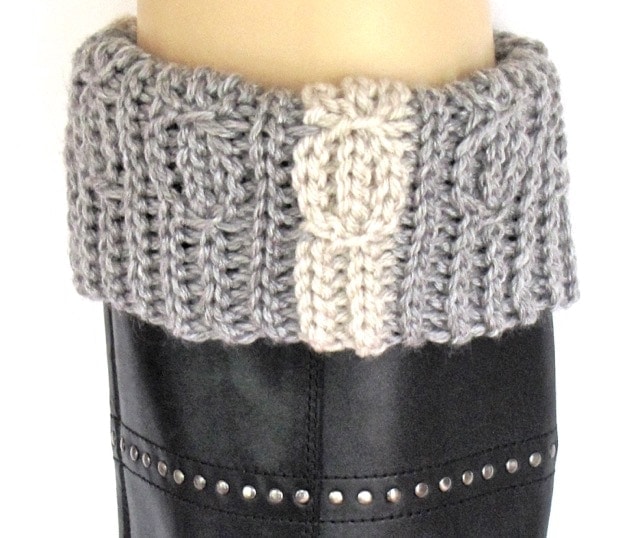
Luckytwist Mitt as boot cuff. 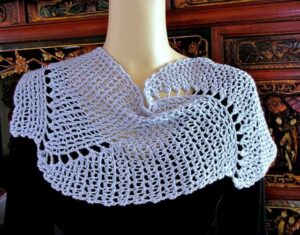
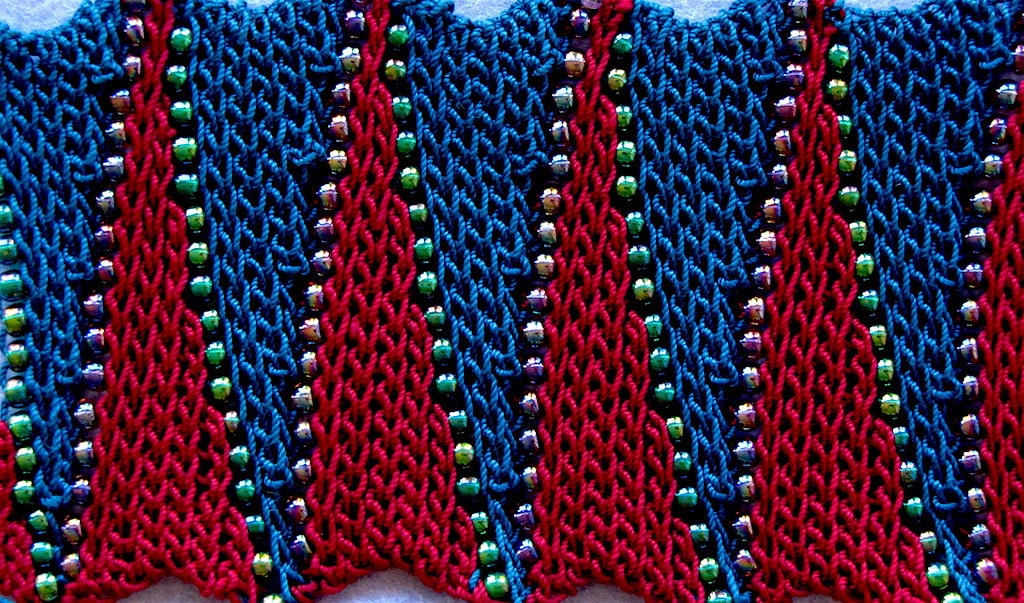
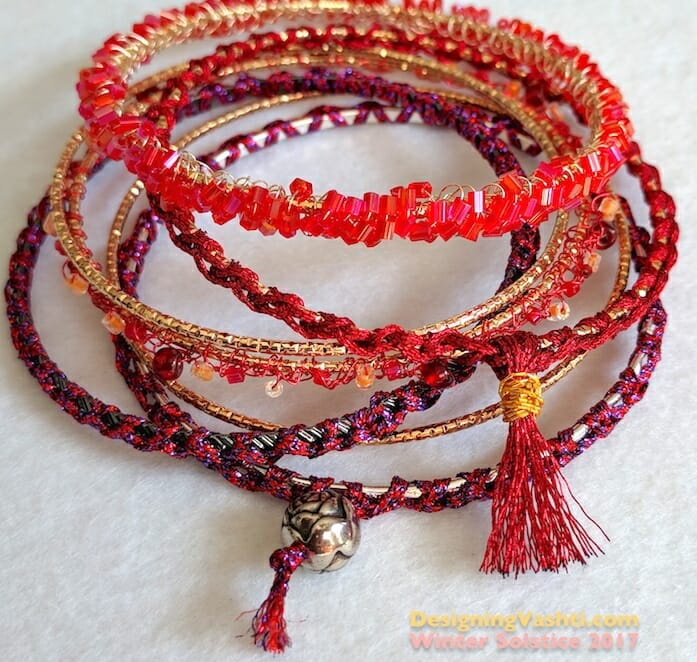
These swirly spaces of SlipSwoopLoop are beaded. 
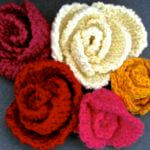
Free Hearts to Slip Stitch 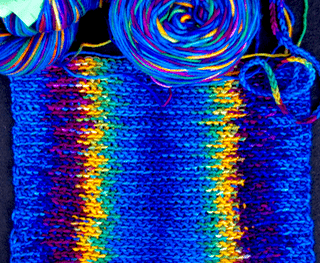
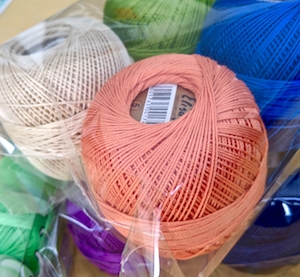
Simple Fss & a variegated hand dye: Jempool.
Slip Stitching Around the Internet
- Slip Stitch Crochet group in Ravelry (free, open to all)
- The Slip Stitch socks of the Pamir people and Day Three (at Dora Ohrenstein’s CrochetInsider.com)
- Anna Lindmark’s wonderful slip stitch basics blog post from 2016, and designs (Ravelry page)
- Tanja Osswald’s designs (Ravelry page)
- Finnish blog post at Hillevisthreads (in English, from 2010) about Bosnian Crochet
- James Walters’ Bosnian Crochet fabric images
- David Burchall’s A Yarnified Life SSC blog
- “Inverse” stitches in regular crochet:
- Hazel Furst’s “Back to Front Crochet“
- Dee Stanziano’s “Pushmi-Pullyu“: Pushmi Pullyu: Coined by me (Dee Stanziano) in 2008, Pushmi Pullyu is the crochet technique of making crochet stitches forwards (Pushmi) and backwards (Pullyu) within the same row, or by alternating hands for each row without the need to turn work. This creates a unique look in the fabric, almost like Illusion Crochet. In 2011 Hazel Furst coined this as “Back to Front Crochet.”
Slip Stitch Crochet Books of Interest
- Tanja Osswald’s Kettmaschen (in German)
- Nancy Nehring’s Learn Slip Stitch Crochet and Slip Stitch Caps
- Bendy Carter’s Knit 1 Purl 2 in Crochet.
- Dora Ohrenstein’s designs and articles in Interweave Crochet magazine, Fall 2010 and Winter 2011 issues.