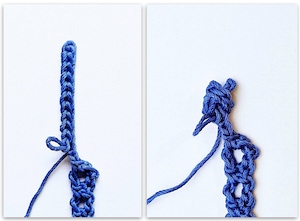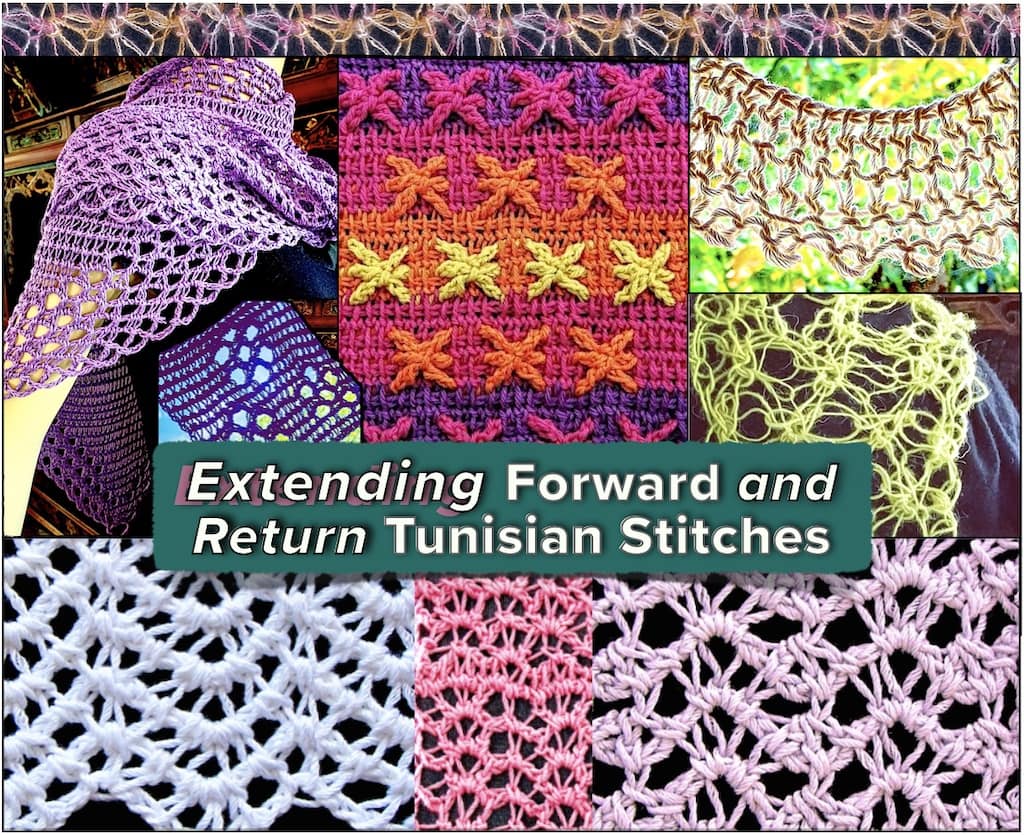
Extending Forward and Return Tunisian Stitches
A NEW class for 2022. This is a three-hour class that was held online for CGOA over two days: Tuesday February 1 and Wednesday February 2, 2022.
Why Extend?
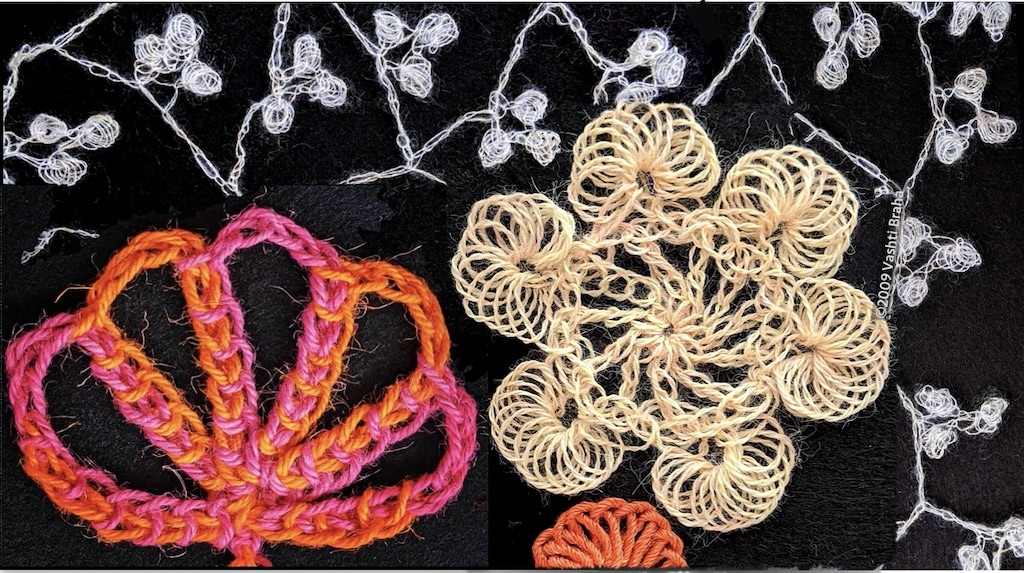
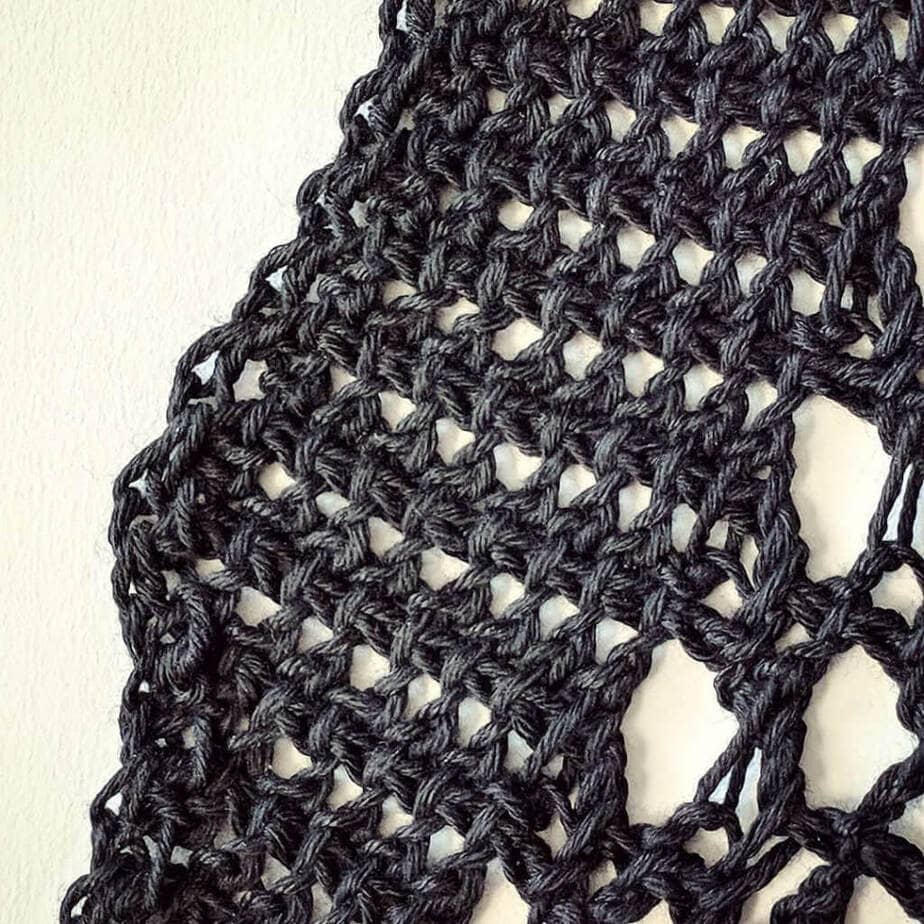
Extended Tunisian stitches bring new textures and flexibility to Tunisian Crochet, sometimes dramatically! With less yarn, and so little effort too. I’ve been exploring extended versions of standard Tunisian stitches for many years. Scroll down to see the Extended Tunisian Stitch Design Gallery.
Here’s why I do it:
- Make quick progress on a big project, or with very fine yarn. Each row is taller.
- Get more mileage out of a small pricy skein. An extended Tunisian fabric weighs less because extended stitches are a bit thinner.
- It’s easy to add shells and other groups of increases wherever you like. This is not true of the most common non-extended stitches–unless you start the stitch with a yarn over, such as a Tunisian double crochet, which is a bit bulkier.
- Do fine gradations of stitch heights: get the perfect row gauge as well as the stitch gauge stated in a crochet pattern. Make sloping rows for cool color effects. These are options we take for granted with regular crochet.
- Many of these stitches are self-healing, meaning if you cut (“steek”) them later to make armholes or a head opening they will form their own safely bound off edge.
- New mosaic–overlay–intermeshed types of colorwork with Tunisian get a boost from extended stitches. See my recent Embossed Stars post.
Makes Great Fabrics!
- Eliminate the “Tunisian curl”–that annoying thing that happens when the edges of your work roll up while you’re crocheting more rows onto it. Crocheting lace avoids this curling, but extended Tunisian stitches work for dense, non-lacy patterns too.
- Clothing fits comfortably. Extended Tunisian fabric has more flex, more drape, more stretch. Really thermal yarns, like mohair, alpaca, and Angora have room to expand and breathe.
The Class Resources
Extended Tunisian Stitches: Design Gallery
Relevant Newsletter Issues & Blog Posts
These are issues of my Crochet Inspirations Newsletter, and blog posts, spanning 2010 to today. Keep in mind that many links in pre-2018 newsletter issues are broken.
- Issue 49: ‘TEKSplorations’ for Tunisian Lace (2014)
- And see this blog post: https://www.designingvashti.com/tunisian-extended-stitch/
- Issue 94: Referring to Stitch Parts (2018)
- Issue 22: Crochet That Pours (2011)
- Issue 07: Tunisian crochet for Yarn Bailouts (2010
- Issue 88: Mixed Yarn Overs (2017)
- Issue 61: When Top Loops are Optional (2014)
- Issue 42: Inverse Crocheting (2012)
- Issue 40: Pulling ups Long Loop (2012)
- Issue 24: Mirroring Stitch Types (2011)
- Issue 12: Twist Some Loops (2011)
Swatches & Tests of Extended Tunisian Stitches
Flickr photo album for this class. This is a great way to see class material at full resolution, and to see an array of new stitch patterns. I love scrolling through my stitch albums. I’m continually creating swatches and photos to add to this album so check it again!
My Pinterest Pin Board created for this class topic. I’ve been finding some creative looks for extended Tunisian stitches in other crocheter’s pins from around the world. We discuss some of them in class.
My Extended Tunisian Stitch Projects (Ravelry)
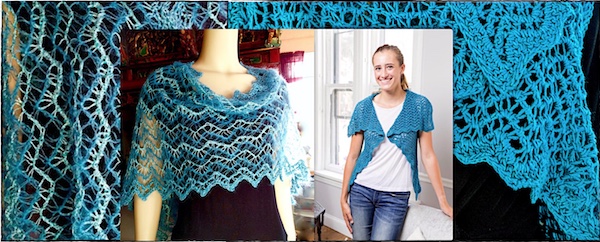
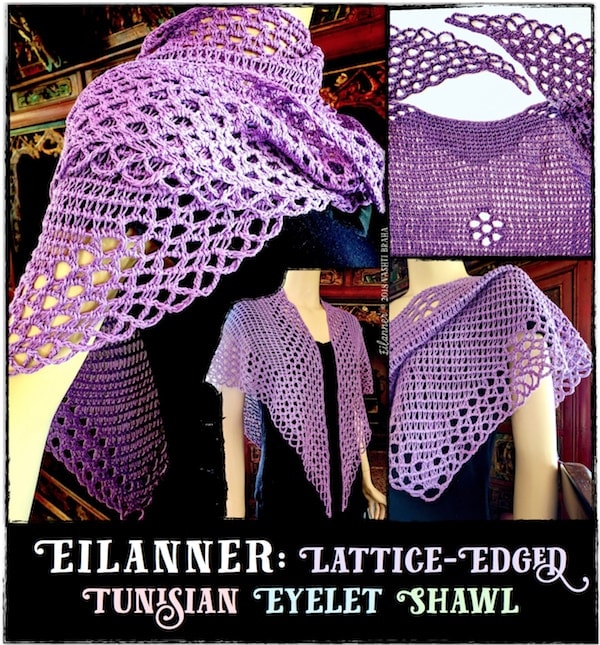
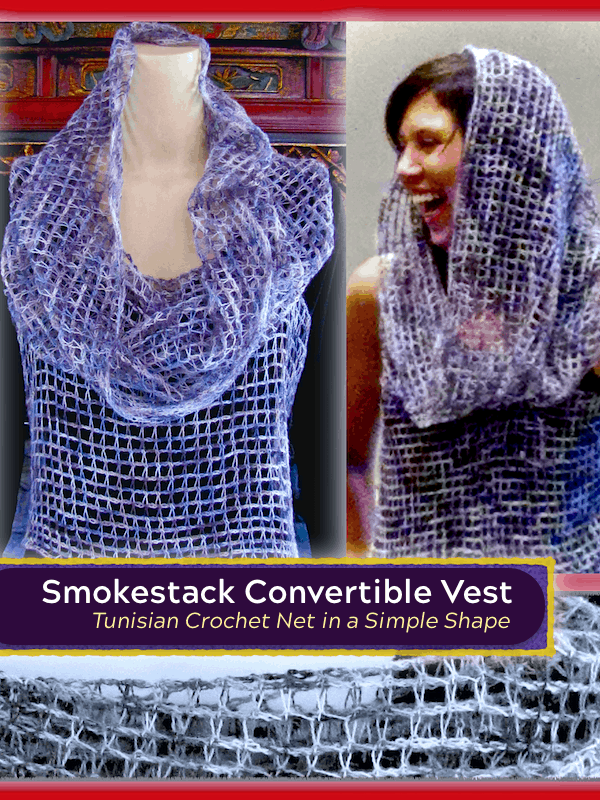
Extended Tunisian Crochet projects in Ravelry. (Log into your Ravelry account first.) Of my 91 Tunisian projects (so far), these have extended stitches:
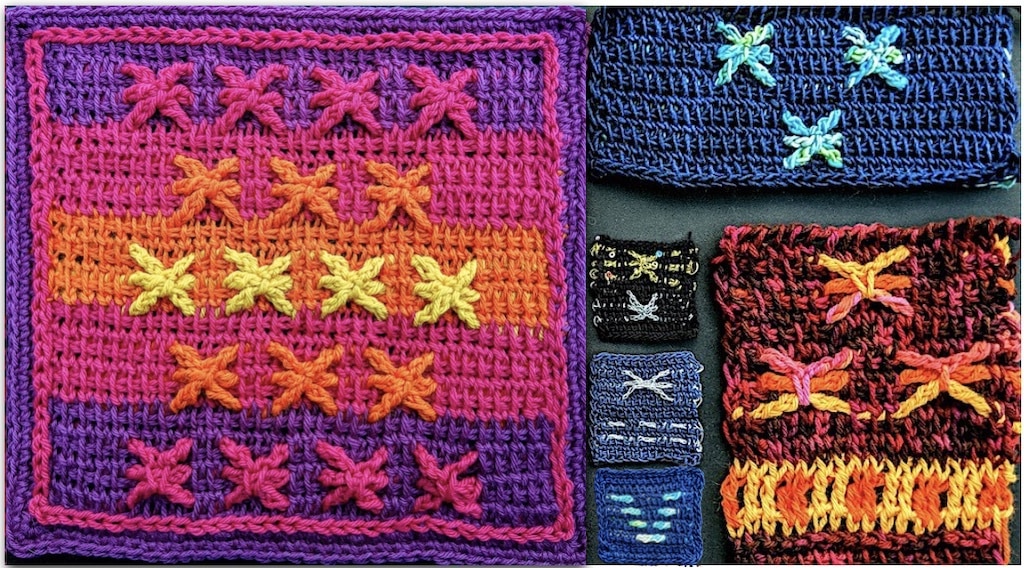
- Embossed Thread Stars; Embossed Thread Coaster; Tunisian Soma Stars
- Zegue; Ziggy Vest
- Rainchains
- Eilanner
- Graven (its collar)
- Summer Storm Curtains; Smoky
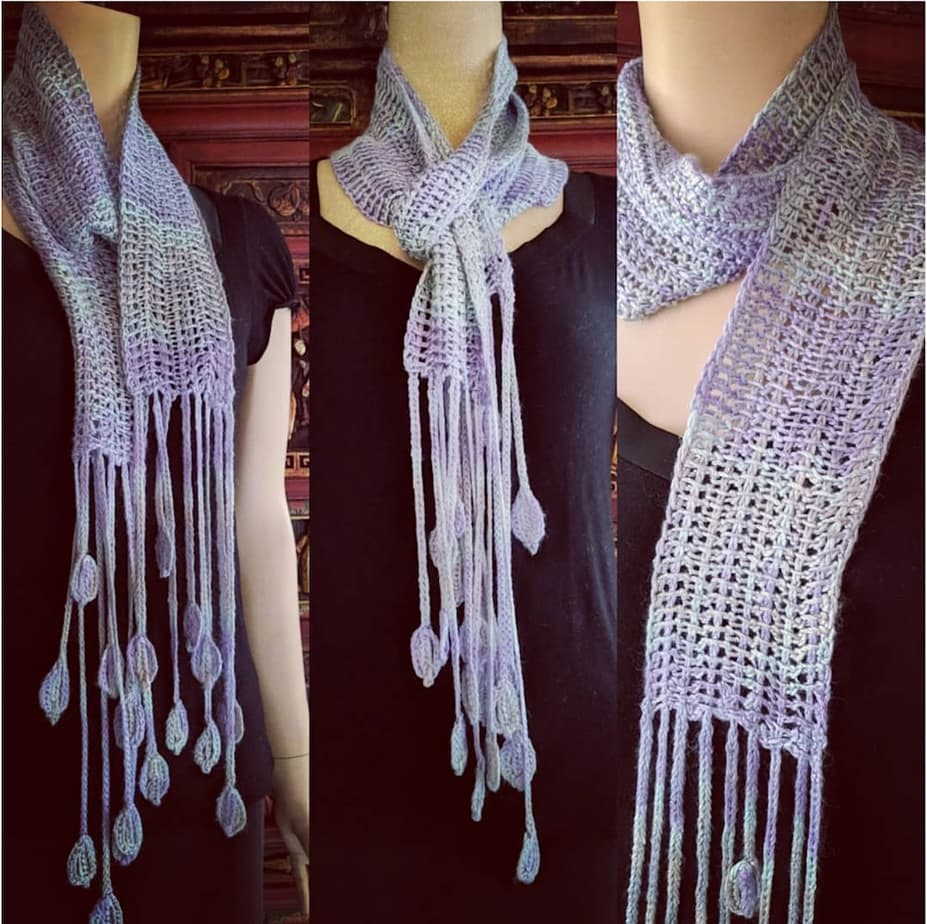
- Spoonbill Panel Scarf; Tunisian Spoonbill
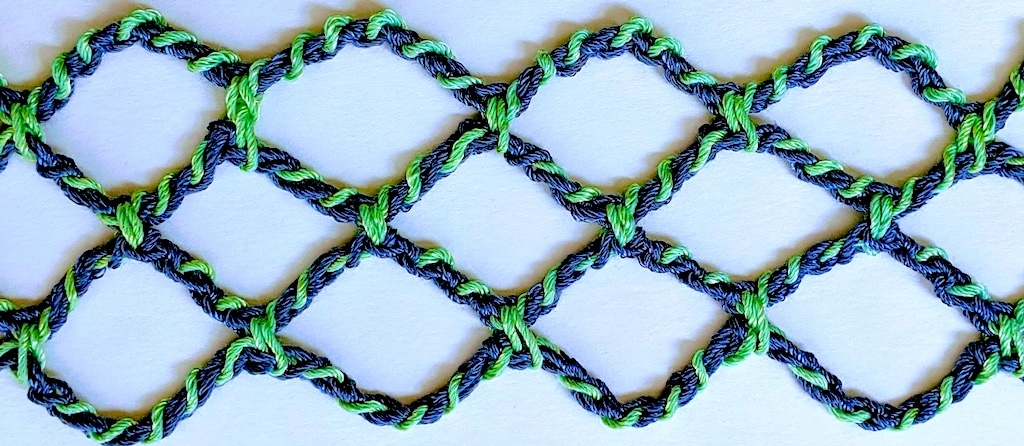
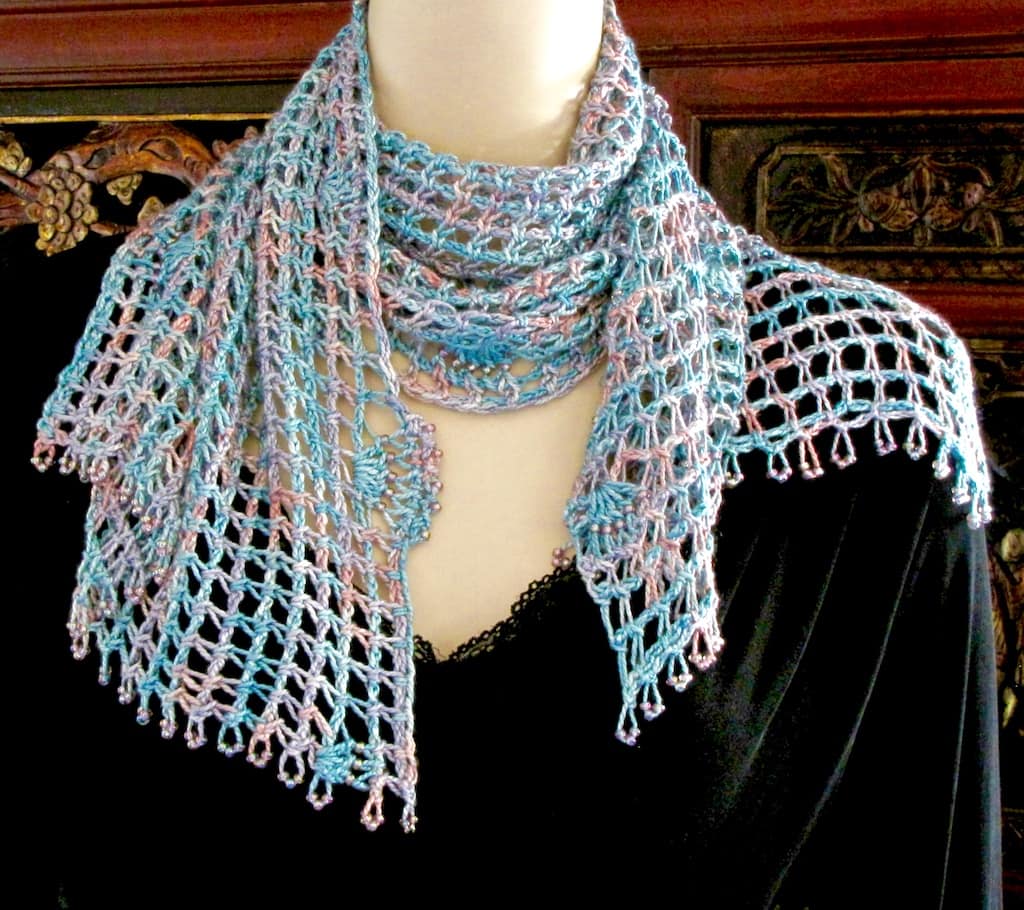
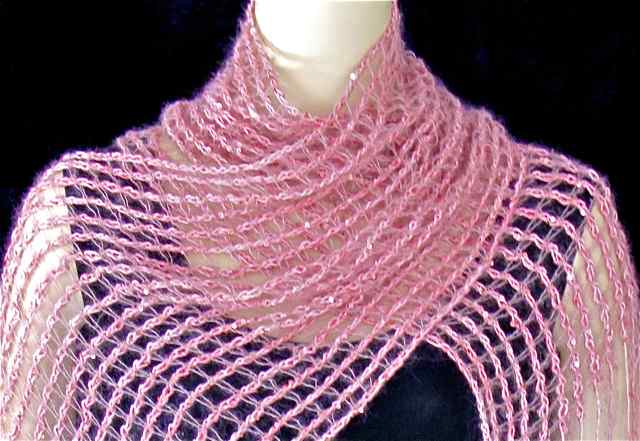
- Zylpha Tunisian Net; Marshmallow Mesmer; Tunisian Mist; Mesmer I
- Diamond Coaster and the next 4 projects after that
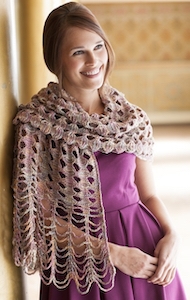
- Rivuline Shawl
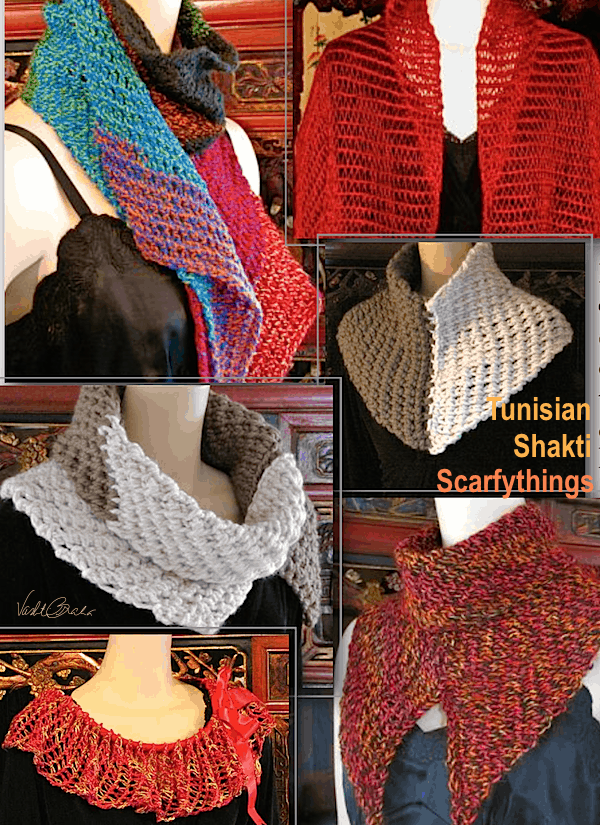
- Shakti Eyelets
- Thickie-Dickie
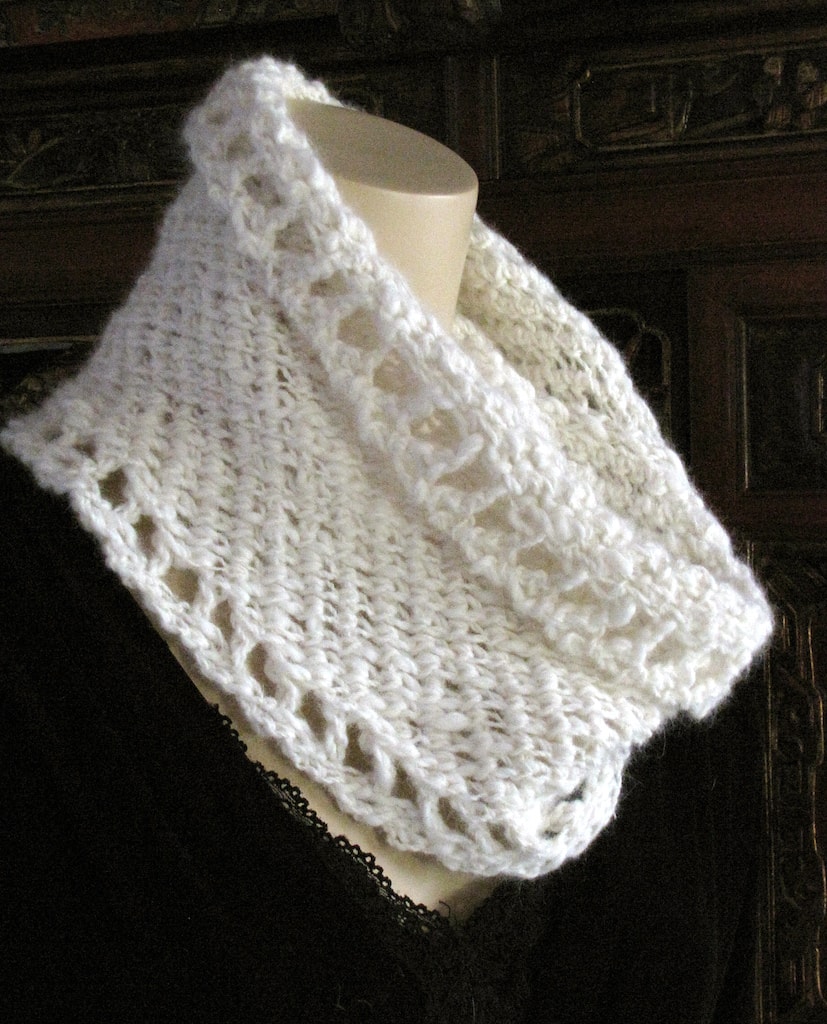
- Neck Lattice
- Ostara
- Swizzle-Shakti
- Melusine’s Wavest
- Skinny Shaktism and next 2 projects
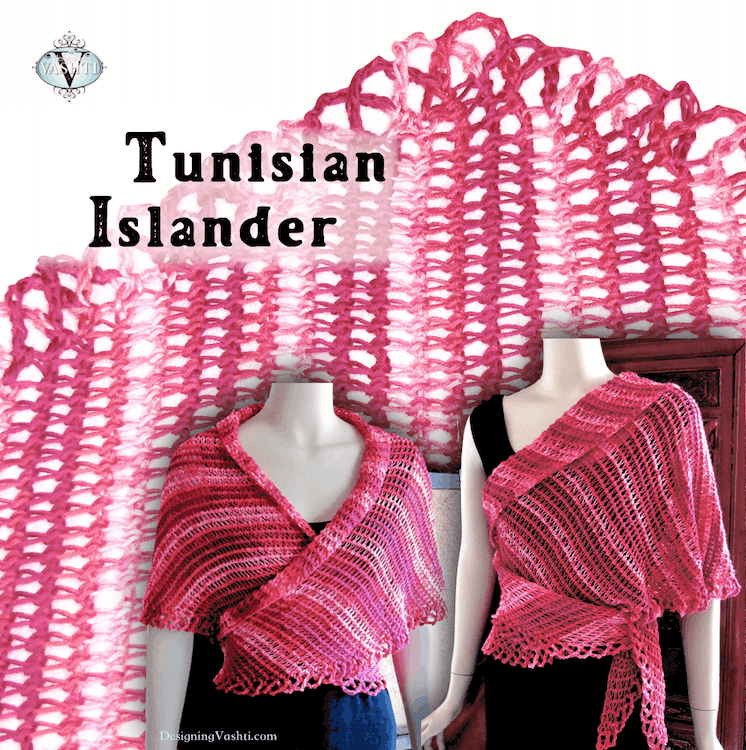
- Summer Islander; Tunisian Island Wrap
- Vanilla Crown Hat (band)
- Julep Shrug (sleeves)
Some are pictured above; I’m still adding they images to the Extended Stitches Flickr album.