Resources Page for Presentation given by Vashti Braha: From Crochet Design Idea to Professional Proposal CGOA Professional Development Day, Reno NV September 12, 2012
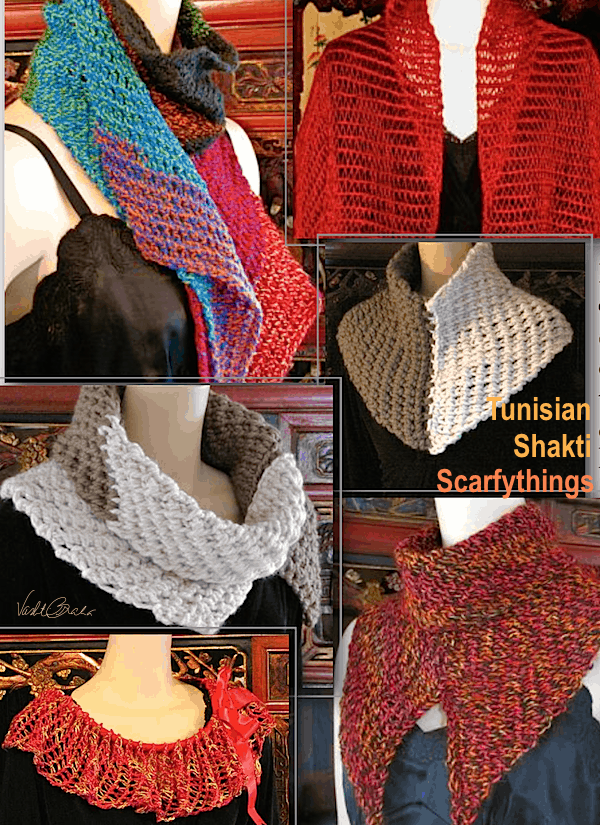
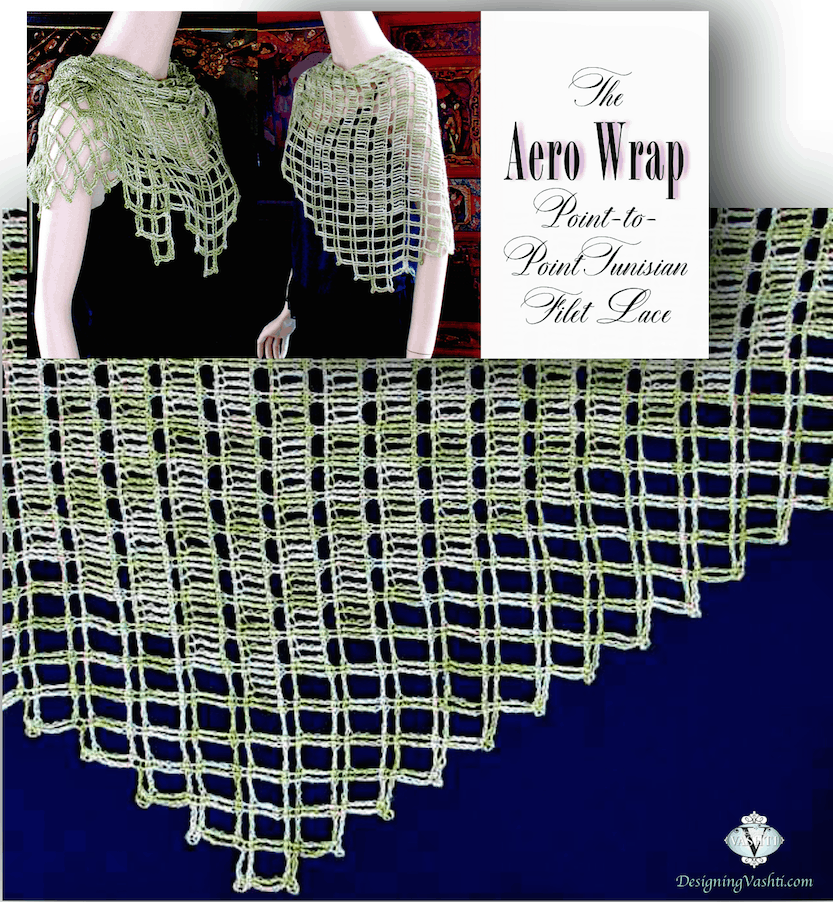
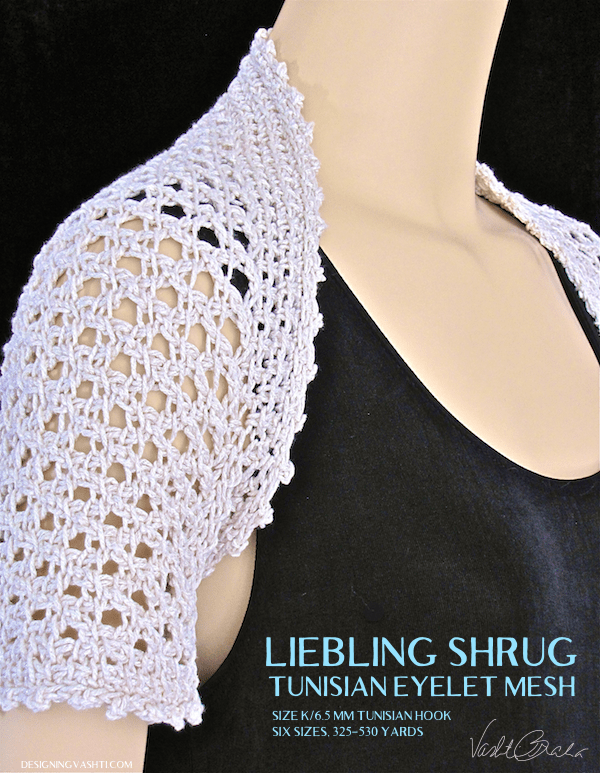
Clickable links are listed below under four subheadings, but first! A Gallery of Ten Crochet Photography Challenges I’ve Encountered (out of Thousands) Click or double-click on a photo for details.
1. Creating, Choosing, Sharing Images of Swatches, Sketches, and Designs
- “How to Journal About Your Crochet Ideas” http://bit.ly/mjV3jo This is my particular method, which incorporates recommendations from a lawyer who spoke on this subject at a previous CGOA Professional Development Day. Blog post includes details and links.
- “Flickr Private Sharing: Guest Pass Tutorial” by M. K. Carroll http://mkcarroll.com/blog/2011/7/31/fresh-designs-crochet-using-flickrs-guest-pass-feature.html The Flickr Guest Pass feature comes in handy in more ways than I ever expected. I’ve used it for years.
2. Why Photography Skills for all Crochet Professionals are Important
Photography has been a challenging journey for me. I’m a crochet designer and teacher first. Perhaps this is why I was slow to realize that every photo I take is also my intellectual property (therefore a business asset) with the same potential infinite value as a crochet design. The more rights one retains to each type of original crochet-related content (whether photo, diagram, text, video, etc.), the more capital one has. Forever. Content to be used as the rights holder sees fit, especially in the unforeseen opportunities the future holds. In other words, do yourself a big favor: err on the side of sitting on the full rights to too much content, because chances are your future self will be glad you did. I speak from experience already! Regarding photography for example, I only waited 2 years to learn how saving my seemingly superfluous photos pays off.
I may never see myself as a professional photographer, but everything I’ve learned about it has been worth the effort, both personally and professionally. Understanding how cameras and light and angles work is nice; even better are the unexpectedly deeper and almost spiritual things photography is teaching me, like: the kinds of beauty I used to overlook; what I want to see and what’s most ‘real’ to me; choices of visual subtexts (those ‘1000 words’ that pictures speak), and just plain what’s important to me about crochet. A surprise fringe benefit is that as I page through the latest crochet magazine or book, I now also detect other points of view non-crocheting pro photographers take, either by default or by direction.
As a crochet designer who finds project photography challenging, the best thing I’ve done is to allow myself the time to take baby steps:
- If all I do is keep the camera very still, I’m already ahead. It can singlehandedly produce a great raw photo for isolating key details later at the editing stage. Sounds obvious, but it’s a special skill to do this for certain kinds of shots. Surprisingly, it has also taken me a long time to recognize when a photo is subtly out of focus.
- I block everything, even jewelry. Otherwise the camera will blab loudly to everyone that I didn’t, and I’ll have to retake the photo {shudder}.
- Having at least one mannequin is fabulous, mainly because using live models for any kind of crochet photography is overwhelmingly complicated for me. Photographing crochet on/with live models require a whole different skill set. I’m going easy on myself and still learning so much with still photography. Another surprise for me has been the strong opinions I hear FOR or AGAINST crochet or knit designs photographed on live models!
- I refuse to obsess about perfect light. There’s no way I’m getting up at dawn to photograph anything! No way am I delaying a new pattern release just because a tropical storm is brewing! However, the more I’ve thought about this, the more I wonder if this is a luxury I have in Florida, where I usually deal with too much light. The more photos I take of crochet, the less light I need, especially when my priority is to emphasize a stitch texture, or the intricate interaction between fiber type, yarn construction, stitch pattern and drape. I can add light during photo editing, but taking away too much light is trickier.
- As a result, I avoid buying specialized paraphernalia that clutters up my house or makes it feel too much like a photographer’s studio. I often just put up a low three-fold cardboard screen to mute the Florida sun. Having a range of simple light modifying tools and backgrounds at hand, such as folding foam-core boards, frees me from waiting for only one ideal hour of indirect sunlight or a weather-perfect day.
- Photoshop will just have to wait its turn. Until more non-photographers’ faces relax when they talk about using Photoshop, I’m making the most of iPhoto and supplementing with iWatermark and whatever the current incarnation of the online Picnik is – and enjoying myself while mastering the basics.
- I learn a new setting on my camera when I’m good ‘n’ ready. My favorite option so far is the macro setting (on my Canon it looks like a flower symbol). It’s especially great for any beaded crochet, fancy stitches, and step outs (tutorials). I practiced for months with different close up ranges to recognize the macro ‘sweet spot.’ I wish I’d taken a few macro pics of the beaded seam of Tunisian Petals (see my blog link below about this)
- I turn a crochet photo session into a relaxing event. I do a batch at a time. I often jot down a specific shot I need for a pattern or blog post, because I don’t always remember by the time it’s ‘photo shoot day.’ Depending on the time of day, I may turn up the music, pour a glass of wine, and relax into the job. Or in the morning I may get all sporty and aerobic about it, especially if I’m cleaning up the room reaching to get artsy angled shots, changing backgrounds, moving mannequins around etc. I might chat on the phone, or listen to my husband’s TV show. I avoid a lot of caffeine, though, for a steadier hand.
Helpful Links for Crochet Photography Newbies:
- My own Photographing Beaded Crochet Jewelry blog post http://designingvashti.blogspot.com/2012/08/photographing-beaded-crochet-jewelry.html
- “Photographing Your Work, Part 1” by Suzie Blackman (includes link to Part 2) http://itsastitchup.co.uk/tutorials/photography/how-to-photograph-1/
- Pixie Purls Blog Series: “Photography for Knitters”:
- “Photographing Baby Blankets” http://www.pixiepurls.com/2010/08/25/beginner-photography-for-knitters/
- “Part 1, Overview” http://www.pixiepurls.com/2010/08/25/beginner-photography-for-knitters/
- “Part 2, Camera Modes” http://www.pixiepurls.com/2010/08/29/photography-for-knitters-part-2-camera-modes/
- “Part 3, Using Natural Light Effectively” http://www.pixiepurls.com/2011/07/04/photography-for-knitters-part-3-using-natural-light-effectively/
- “Part 4, Photographing Yarn” http://www.pixiepurls.com/2011/07/04/photography-for-knitters-part-4-photographing-yarn/
- Petite Purls articles and publication resources:
- “Submission Guidelines” for Photography of Designs: http://petitepurls.com/submitPhotoGuide.html
- “10 Ways to Instantly Improve Your Finished Object Photography” by Caro Sheridan http://petitepurls.com/Fall11/fall2011_a_caro.html
- “How to Stage a Cute and Timeless Photoshoot” by Brandy Fortune http://petitepurls.com/Fall11/fall2011_a_photolocations.html
3. Submissions Guidelines for Crochet Pattern Magazines:
- Crochet! Magazine http://www.crochetmagazine.com/designer_guidelines.php
- Crochet Today http://www.crochettoday.com/about
- Crochet World http://www.crochet-world.com/designer_guidelines.php
- Interweave Crochet http://www.crochetme.com/content/InterweaveCrochetContributorGuidelines.aspx
- Vogue Knitting & KnitSimple http://www.vogueknitting.com/design_submissions.aspx
- Crochetvolution: http://crochetvolution.com/category/very-important-details
- KnitCircus: http://www.knitcircus.com/submissions.php
- Also: The Crochet Concupiscence blog posts calls for proposals: http://www.crochetconcupiscence.com/2012/03/submit-your-crochet-crochet-calls-for-submission-3612/
Submissions Guidelines for Pattern Book Publishers:
- Leisure Arts: http://www.leisurearts.com/design-submission-guide/
- Annies Attic pattern books: http://www.annies-publishing.com/pdfs/CFg12.pdf
4. Recommended Miscellaneous Resources for New/Aspiring Professional Crochet Designers:
Note: even though some of these links offer advice about expired calls for proposals, the information is still relevant for future calls.
- The Knitgrrl Guide to Professional Knitwear Design by Shannon Okey, knitgrrl.com. ©2010 Cooperative Press, Cleveland OH. ISBN 978-0-9792017-1-4
- Craft Yarn Council’s “Industry Standards & Guidelines for Designers” http://www.craftyarncouncil.com/idea.html
- “Crochet Submission Example” by M. K. Carroll (acceptable sketches, swatch photos) http://mkcarroll.com/blog/2011/8/30/fresh-designs-crochet-submission-example.html
- Underground Crafter’s “Interview with Crochet Designer, Vashti Braha” (Candid, for the benefit of new designers)
- Alex Tinsley “Putting ‘Pro’ in Proposal” http://www.dull-roar.com/2012/03/puttin-pro-in-proposal.html Note: This link, and the next (Buffalo Wool Co) give startling indications of the direction electronic design submissions are headed! Such as, heavy emphasis on number of successful Ravelry projects, and the ability of the designer to offer the ‘glamour shots’ (publication images)!
- The Buffalo Wool Co Submission Details http://store.thebuffalowoolco.com/design-submissions/
- M.K. Carroll on Submissions Deadlines http://mkcarroll.com/blog/2011/8/2/fresh-designs-crochet-tips-for-submitters-deadlines.html
- M.K. Carroll: Tips for Submitters Step One (misc, general) http://mkcarroll.com/blog/2011/7/31/fresh-designs-crochet-tips-for-submitters-step-one.html
- Designer Sarah Barbour’s blog post about her experience sketching crochet textures for her design proposal: http://gds108sbarbour.blogspot.com/2010/07/crochet-proposal.html (see her next blog post also.)
- Marika blogged the design proposal she created using basic skills with Illustrator; the previous post offers the mythology inspiration for the design idea: http://marikamum.blogspot.com/2012_06_01_archive.html
- Shelby Allaho’s unique presentation of a tiny crochet submission: http://stitch-story.blogspot.com/2010/08/wrapping-up-crochet-design-submission.html
- Cooperative Press: http://www.cooperativepress.com/2011/07/fresh-designs-crochet-call-for-submissions-open/
- Vashti’s original website page about professional designing https://www.designingvashti.com/design/about-crochet-designing.html


